The most difficult part about tiling is picking your tile, knowing that you’ll be stuck with it for decades. For that reason, I wanted to go with something neutral and timeless. At first, we looked at tile shops since they offer a larger selection but we found out (at least at the shops we visited) that they don’t carry any in-stock tile. Also you can’t return anything (like leftovers) and we would have to wait weeks for an order to arrive. So we decided to stick with Home Depot and Lowes for our selections.
I like the classic look of marble but I didn’t want actual marble because of the maintenance. We first settled on tile for our bathroom floor. We chose 2″ x 8″ Chique Gris tile from Lowes. It had a blended look of Italian white marbles (Calacatta and Breccia). The pattern was far from perfect so we ended up buying a lot of boxes and I went through them picking out the ones I didn’t like (to return).
We then decided on a layout pattern. I definitely wanted a herringbone pattern. Since our space is so small, I wanted to give it a more interesting design. It took some convincing but Mike finally got on board too.
It was harder deciding on the shower tile so we put that on hold and focused on the bathroom floor. We dry fit the tile, playing around with ideas. Mike wanted a border around the pattern but I didn’t like it:

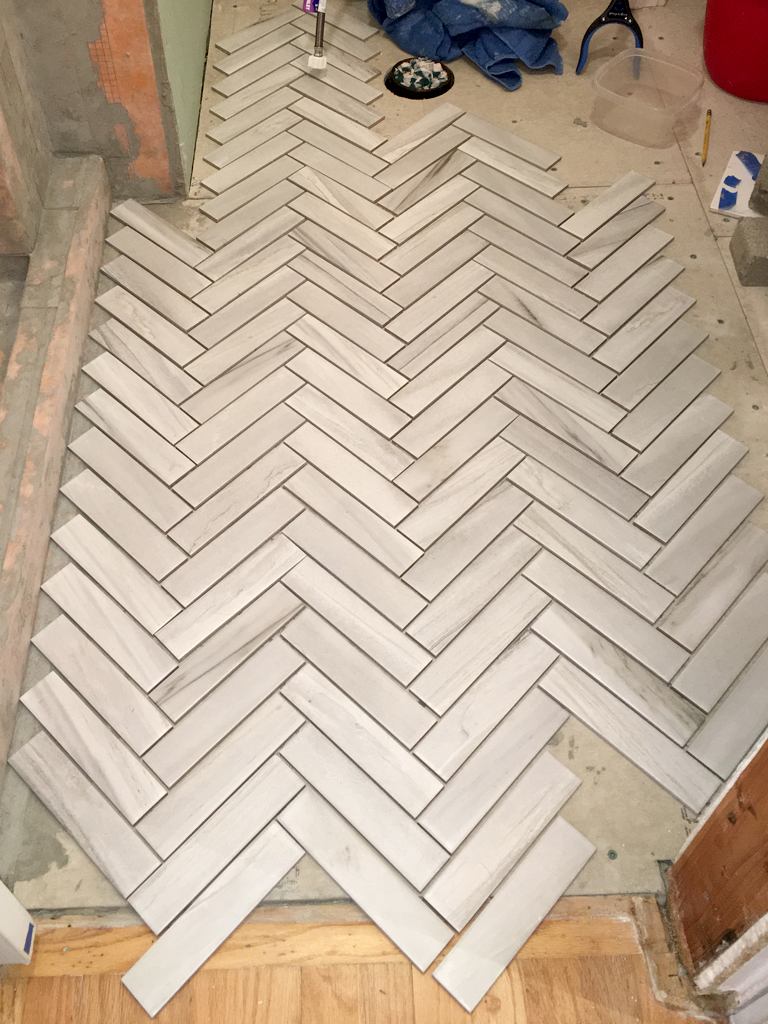
We ultimately decided to just do a herringbone pattern without a border. We checked the layout before starting:
One last thing we did before starting was rip out the old vanity:

Then, we got to work laying the tile. We used a premixed thinset to attach the tiles:
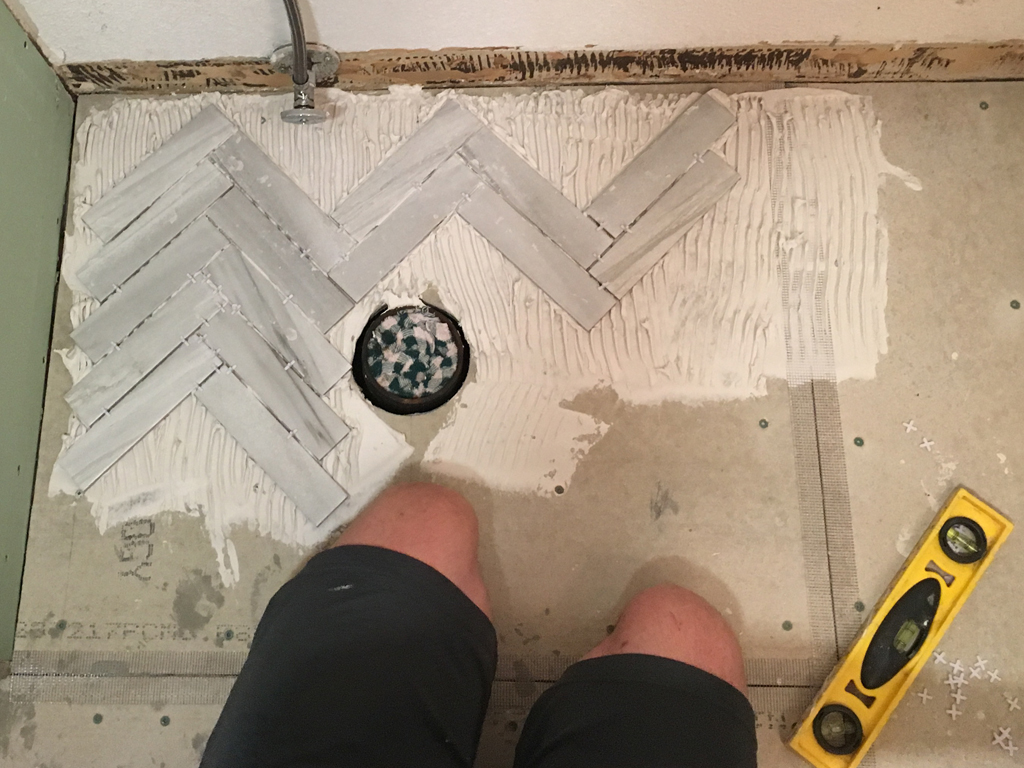
Once Mike got the pattern started, we were both able to lay tile together at the same time. We focused on putting down whole tiles and waited until we were finished to make the end cuts. To keep the tile straight, we sometimes had to increase the spacing by using nickles as spacers:

We generously back buttered the tiles, which we realized later was not needed for small tiles. We wasted a lot of time cleaning thinset out of the spaces around tiles after installing them:
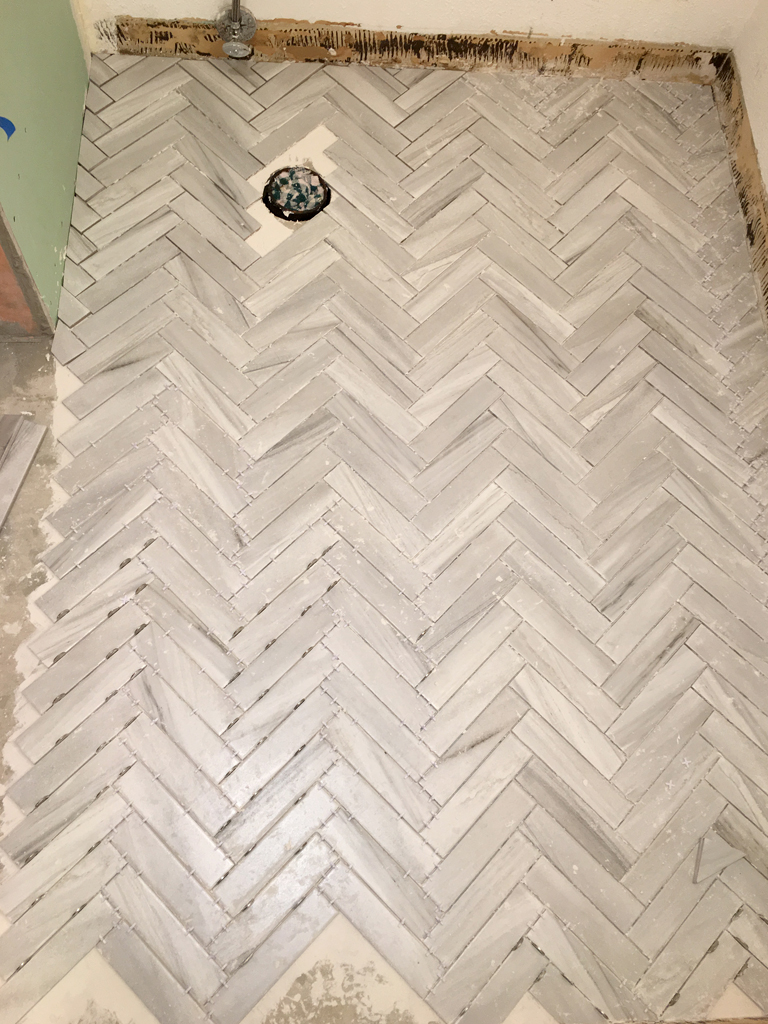
Finishing up with all the outside cuts:

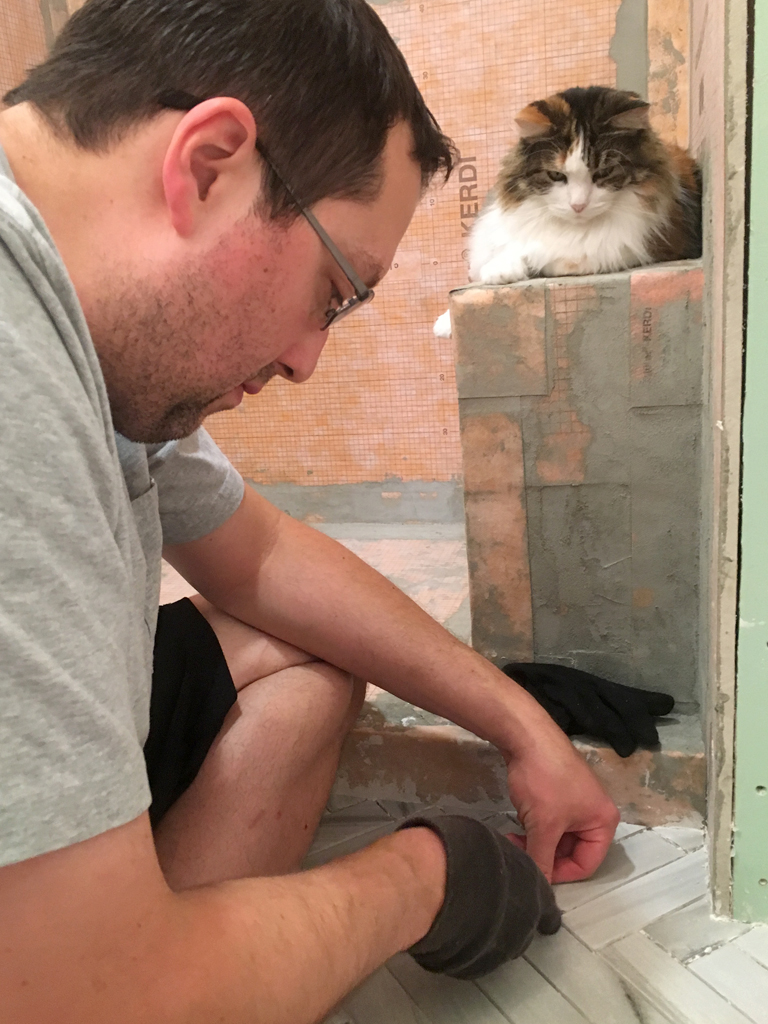
We had to spend even more time cleaning all the space around the tiles before grouting. Navi was supervising:
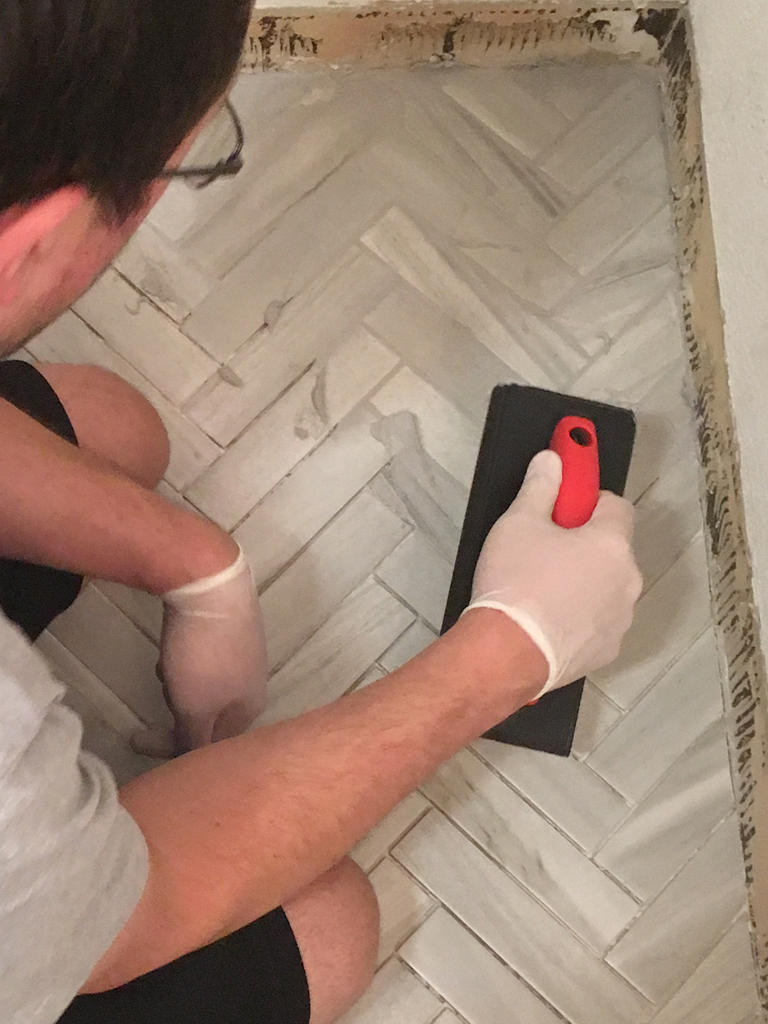
Finally, we were able to grout using a silver grout color that was recommended for our tile:
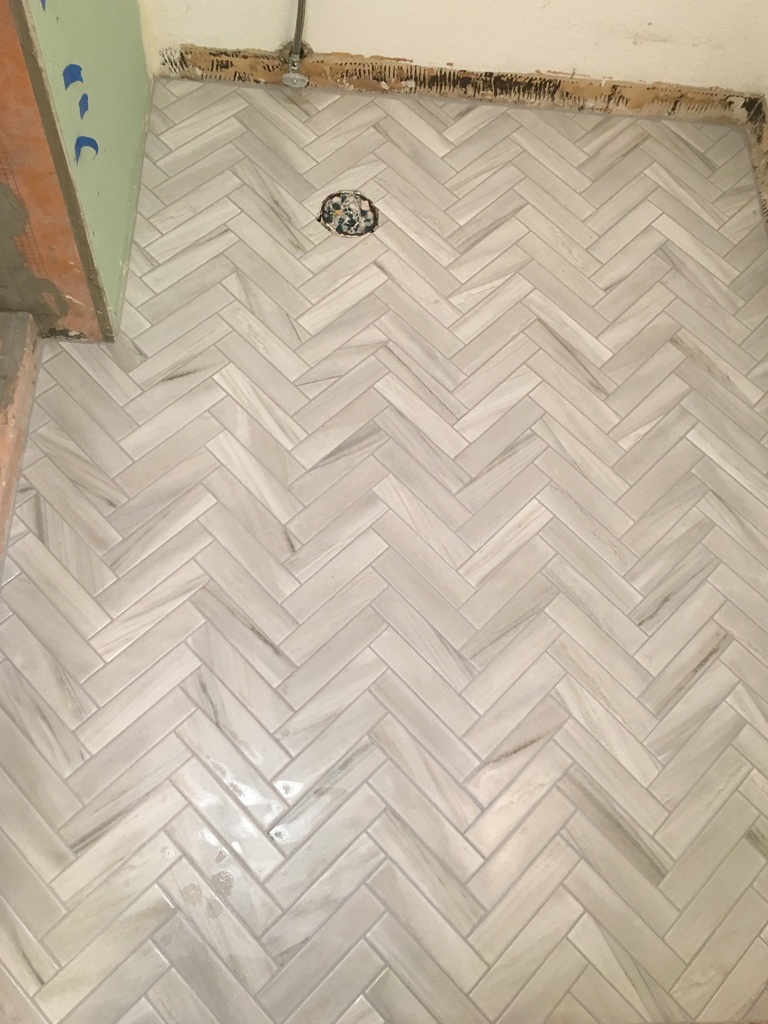
All finished! It took us 3 weeks to complete the floor tile:
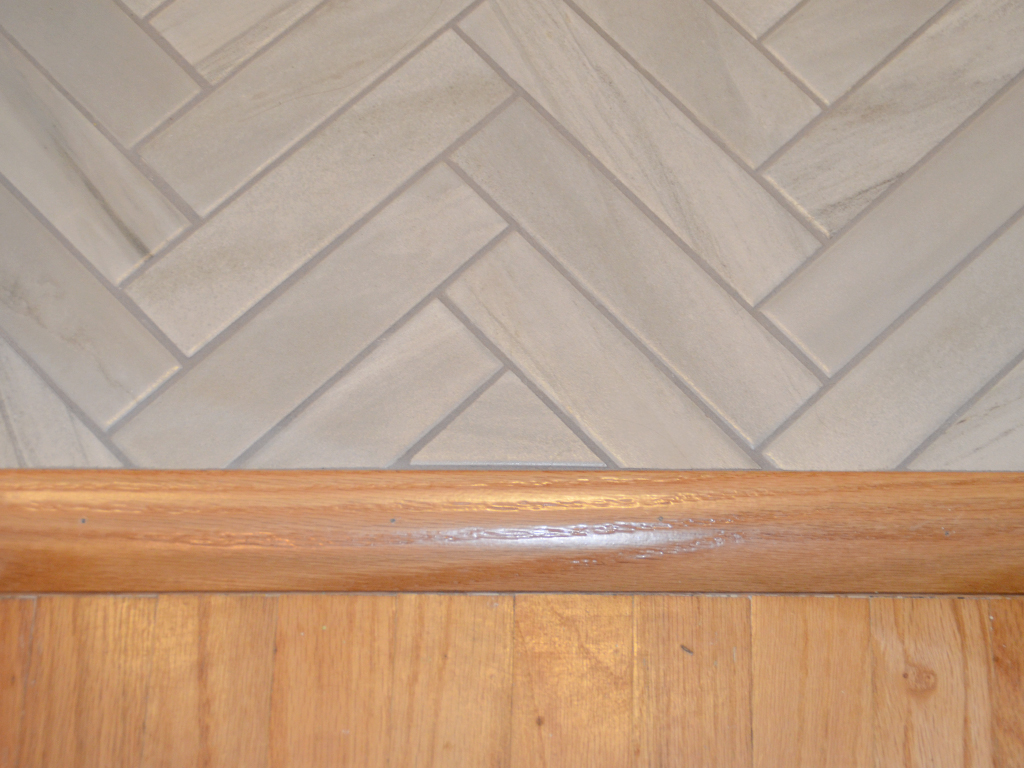
We also added a floor reducer/theshold that connects the floor tile to the bedroom’s wood floor:
We decided to finish off the toilet and vanity area before working on the shower tile. You can view that post here.
When we finally got back to tiling the shower, we were still deciding on the tile design. We agreed on using 4″ x 12″ white subway tiles but hadn’t decided on the shower floor tile or if we wanted to add an accent tile. Some ideas I had:

Ultimately though, we decided not to do an accent tile. I was worried it would eventually date the overall look.
We had tiled walls around a bathtub before but never a shower so I did a lot of research on the best practices for tiling a shower. It’s recommended to do the walls first (starting one tile space up from where the floor tile will sit) followed by the floor tile. Mike jury-rigged some stuff to give us a level starting point:
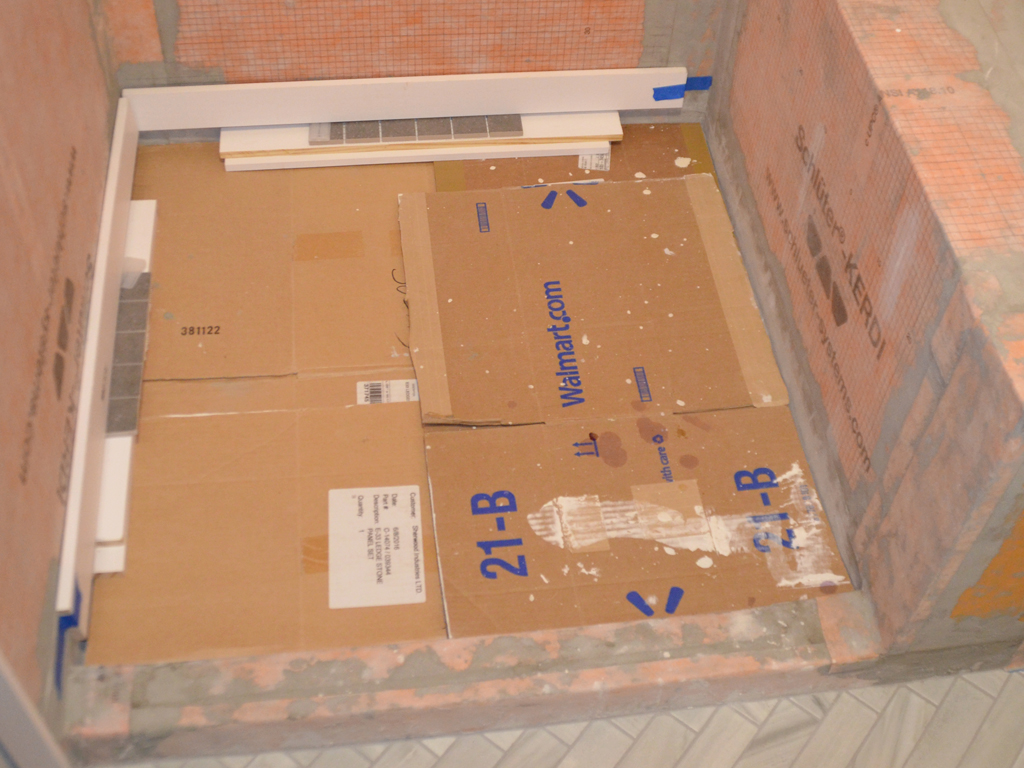
It took us 3 months to complete the shower tile. It was partly due to only working on it when Mike was able to help. I didn’t want to screw anything up on my own. We worked only during the weekends and we limited it to only 4 hrs since the cramped space was hard on Mike. Plus we could only ignore our son for so long anyway. We usually only finished two full rows of tile at a time.
Mike was somewhat of a perfectionist when installing the tile. He checked the level of every single tile so that was another reason it was slow going.
By now, we had a working toilet and vanity in the bathroom so it wasn’t that big of a deal to us if the shower took longer to complete since we could continue using the shower in the other bathroom.
We figured out a good system working together. I first looked through the tile boxes for tiles that had the least amount of imperfections (like hairline scratches and nicks). There were so many bad tiles, I wonder if tile purchased from a tile shop would have the same issues. I then back buttered the tile before handing it to Mike to install. I would also do any cuts using the manual tile cutter. It’s pretty simple to use. This was our set up:

Measuring for the next tile:

We used non-modified mortar recommended for use with KERDI. A tile about to go on:

At first, we were going to leave the end cuts for later but quickly realized it caused issues with leveling so Mike installed a full row at a time:

The shorter cuts (less than 2″) didn’t cut properly on the manual tile cutter so Mike used the wet saw for those:

Mike made a cardboard template for the bench tile:
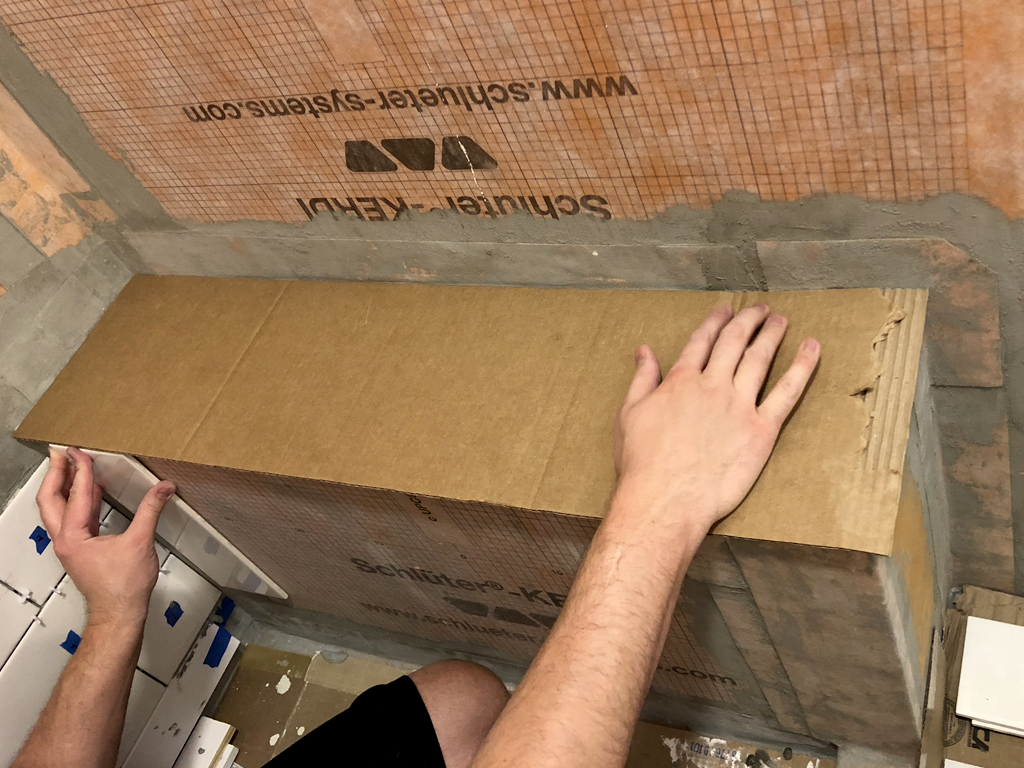
It took us forever to decide on the tile for the bench. I wanted to use a solid stone so we wouldn’t have to worry about unfinished edges. We talked to a stone shop but it was going to be weeks before we could get something so again we went with what the home improvement stores offered. We found 13″ x 36″ tile that would fit perfectly on our bench. The tile only came in packs of 4 so because of that we decided to use it on top of the curb as well.
Our bench tile – Emser Sculpture white flat ceramic:

Tiling around the bench area was more complex. We also had to add tile edging (satin silver) on the bench tile to hide the unfinished edges:
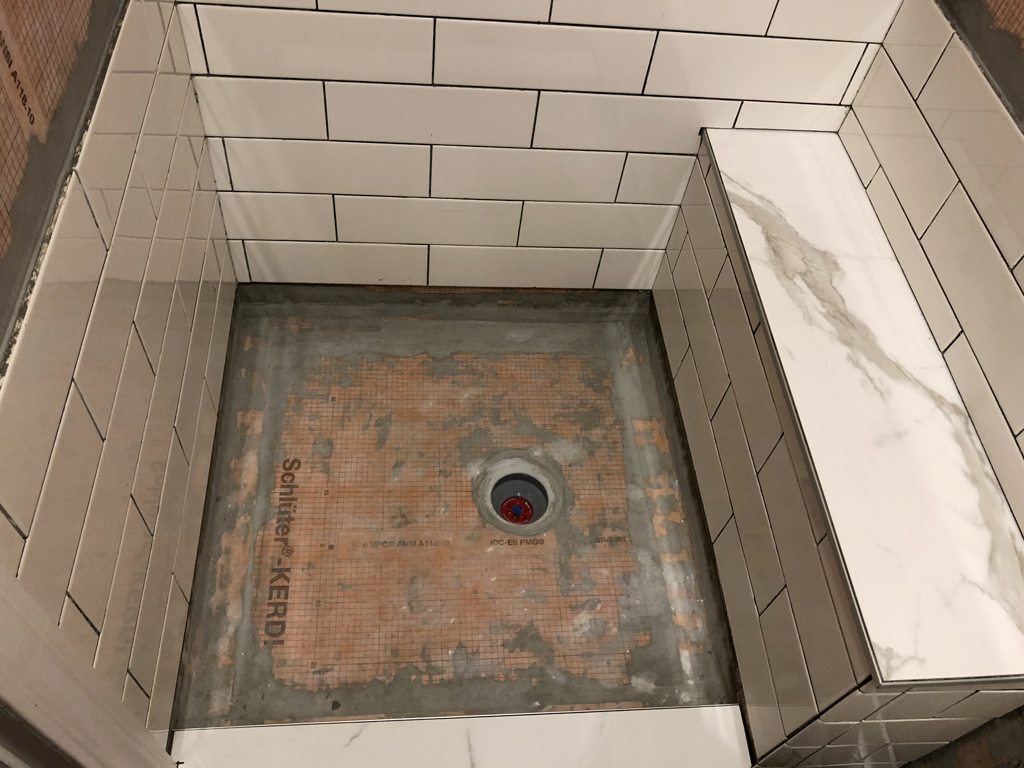
We installed the same tile edging to the end of the tiled walls to give it a finished look. Mike cut it using an angle grinder with a metal cutting blade. Sparks flew when he cut this stuff:

The tile edging was installed first for the entire height of the wall because it sat under the tile:

The progression of Mike’s tiling positions:

We tiled up to the moulding. Getting closer to the top:
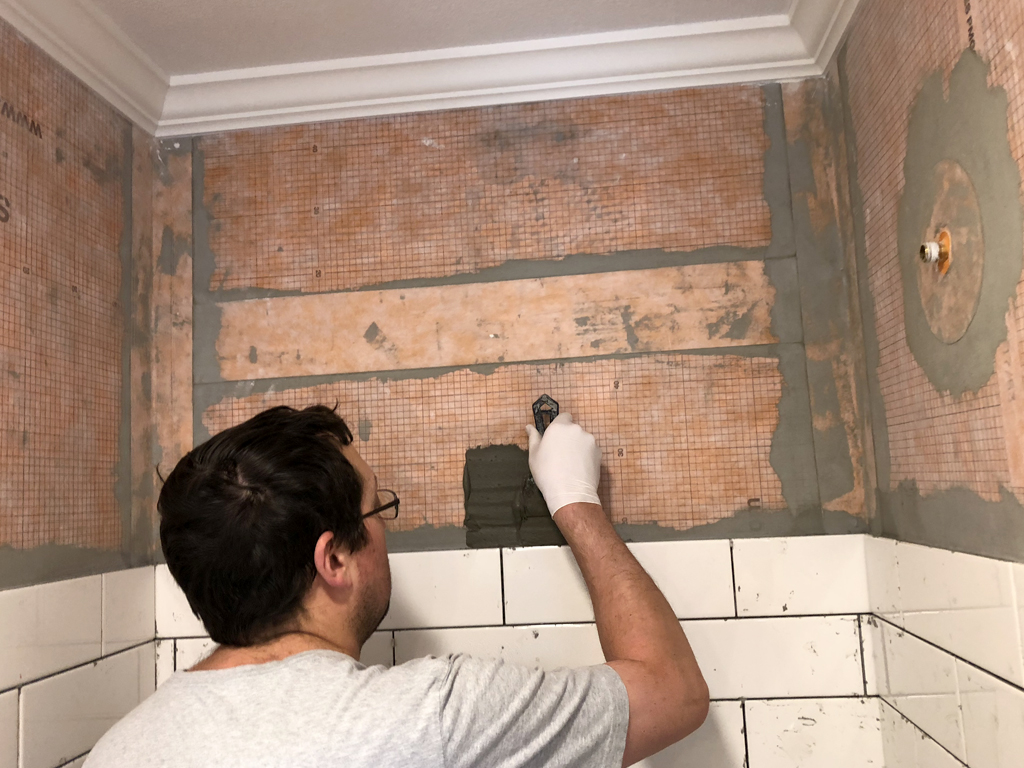
Mike also cut the holes for the fixtures:


We finally finished and grouted the wall tile using the same silver grout as the bathroom floor tile. Mike had an idea he wanted to try with the corner grout. He wanted to add white grout next to tile so it looked like the tile was wrapping around the corner. I didn’t like the idea but I gave it a try. I first added white grout, then after it hardened, I removed just a tiny bit where the tiles connected and added silver grout:
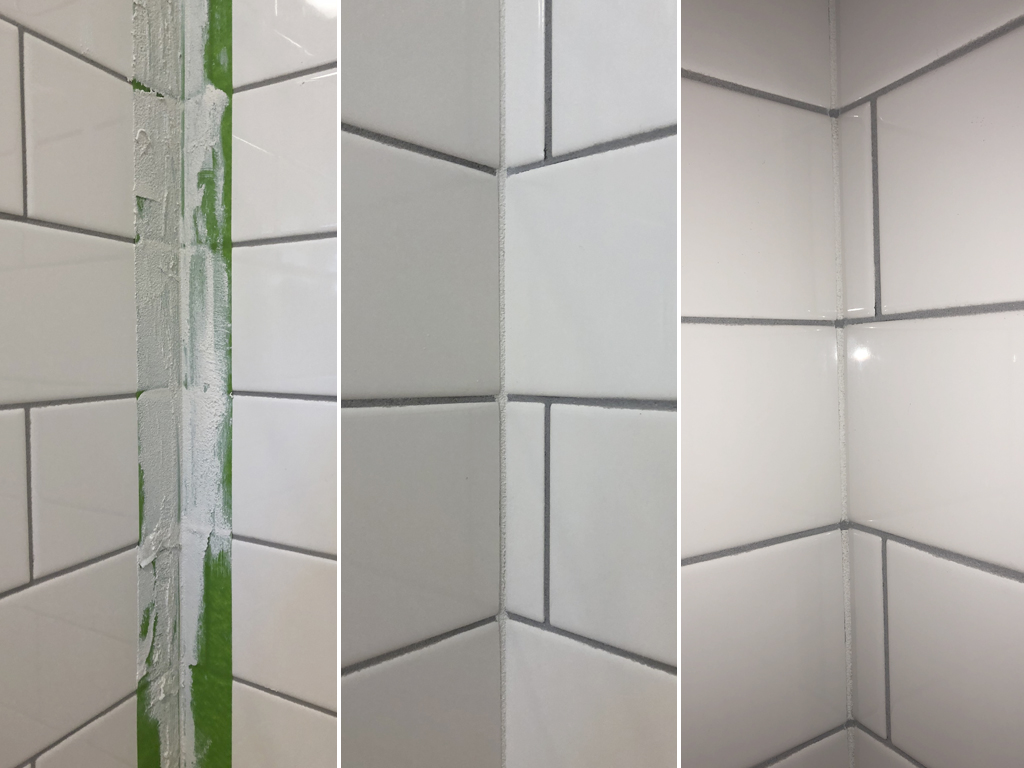
I still didn’t like the idea especially since white grout could discolor faster so Mike finally agreed with me. I had to dig out all the white grout before grouting again with silver.
The wall tile finished and grouted:


We decided early on that we wanted to get a frameless shower door and have it installed professionally. When we got a bid for the door from a local glass company, they told us our pocket door studs wouldn’t be able to support a glass door so they suggested a semi-frameless 2 panel door like this one:
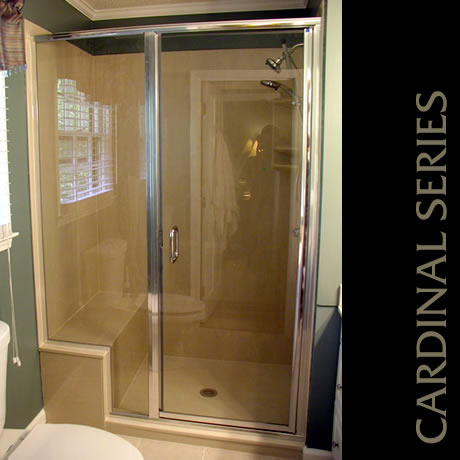
I said no way. We could just buy that from Home Depot. The company tried to come up with another idea. Since we had solid wood studs above the pocket door, they added another taller panel that could attach to the higher stud to provide more support. The rest of the door would be the height of the 2 panel one so it wouldn’t trap steam in the shower. They still recommended the 2 panel door but we decided to do the 3 panel one (for $480 extra). The glass company’s drawings comparing the types of doors:

When the shower door person showed up to measure again for our glass door, they told us our shower curb didn’t have the proper inward slope so they were going to have to attach big ugly plastic water dams to the curb unless we fixed the slope. The only way to fix the slope was to replace the top tile. Mike did not want to do that but my pleading eventually swayed him. So he removed the top tile gently without affecting the surrounding tiles:

He did a great job getting the tile off:

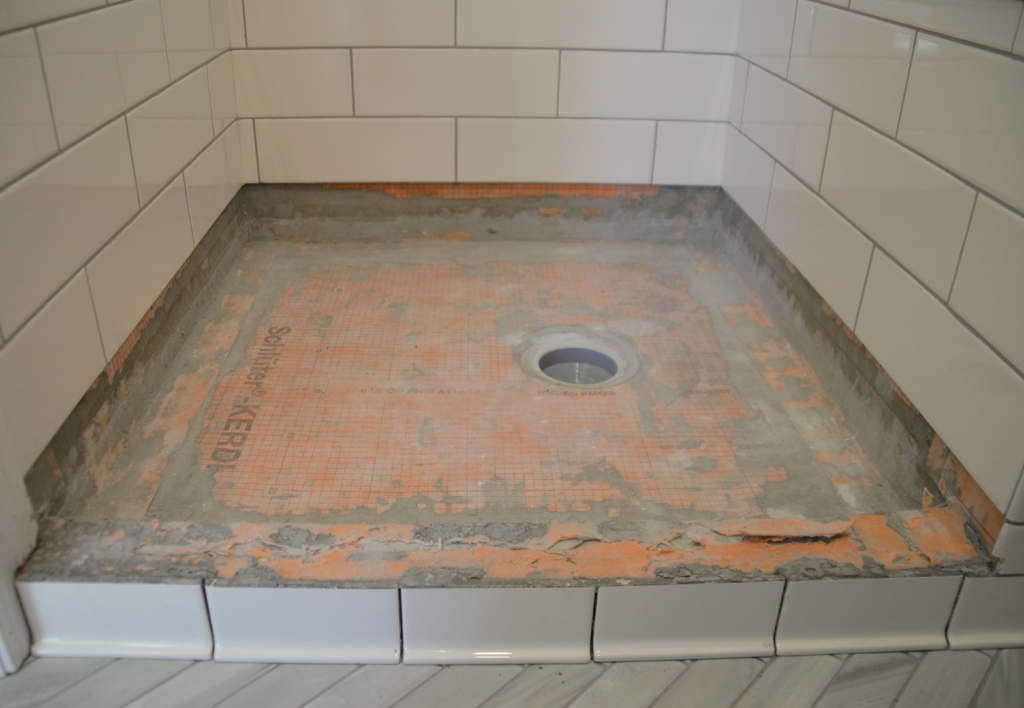
We put the new curb tile on hold while we focused on installing the shower floor tile and remaining wall tile.
We had the hardest time finding shower floor tile we liked. We were about a week away from installing the gray mosaic tile from my ideas pictures. I happened to be passing through the tile aisle at Lowes and low and behold there was a Chique Gris mosiac tile that matched our bathroom floor tile. I had never seen it before even though I browsed this aisle almost weekly since we started the project. It also didn’t come up in any online searches.
I felt like we got so lucky but then realized there were only two 12″ x 12″ sheets of it (we needed at least ten). I ended up driving around to other stores (within a 40 mile radius) collecting enough tiles. Apparently, other people were looking for these too. I remember calling stores that said they had them in stock but as soon as I got there, they were gone. It seemed like I was one step behind someone else. Eventually, within a week and trips to multiple stores, I had gathered enough tile.
I wanted to install the tile at an angle so Mike measured using a carpenter’s square to get the right starting point:

We dry fit our first tile sheet:
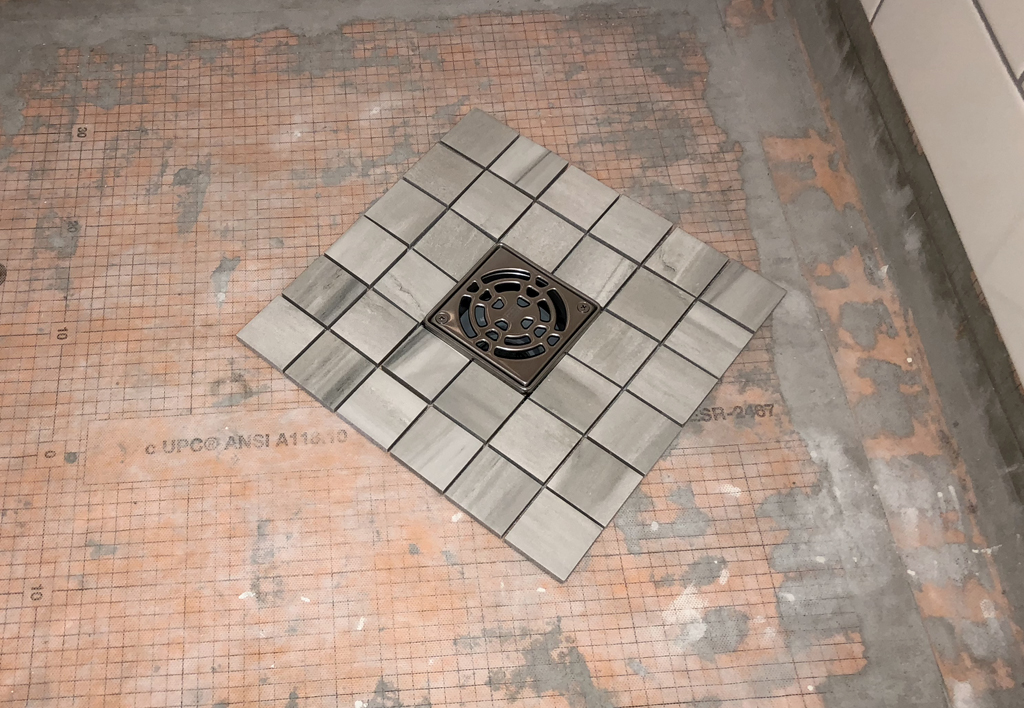
We used the same type of mortar to attach it as we did on the walls:

Putting down the tile:
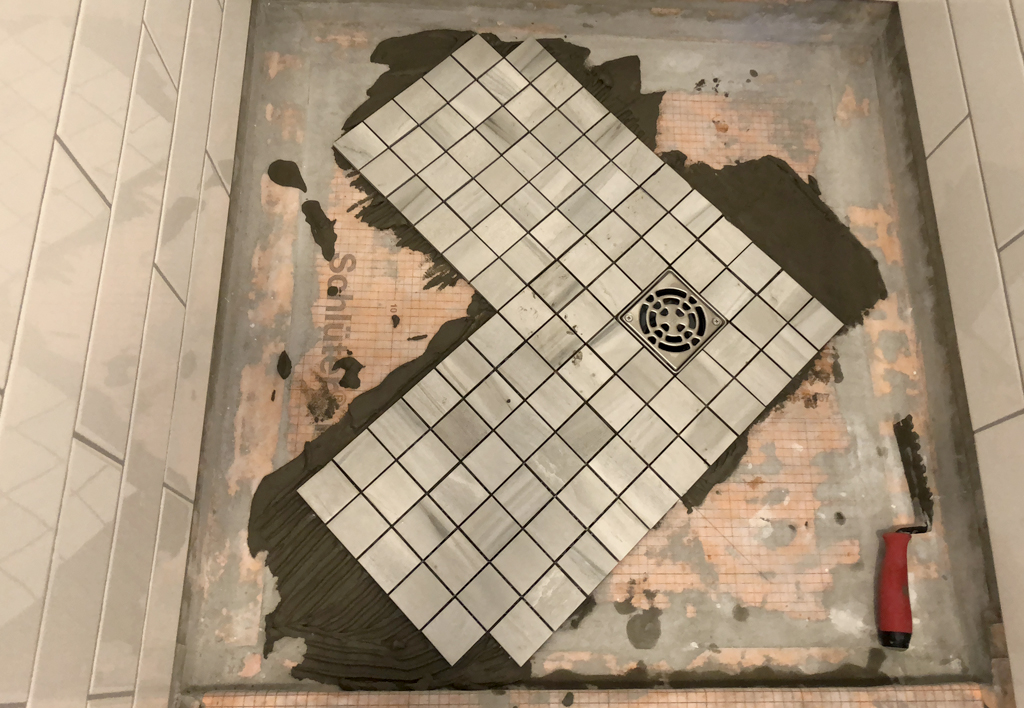

Mike easily removed tiles we didn’t need using a utility knife:

He cut the tiny tiles on the wet saw. Surprisingly, he didn’t lose a finger:

We finished installing the shower floor tile within a day. It was so much faster using sheet tiles:
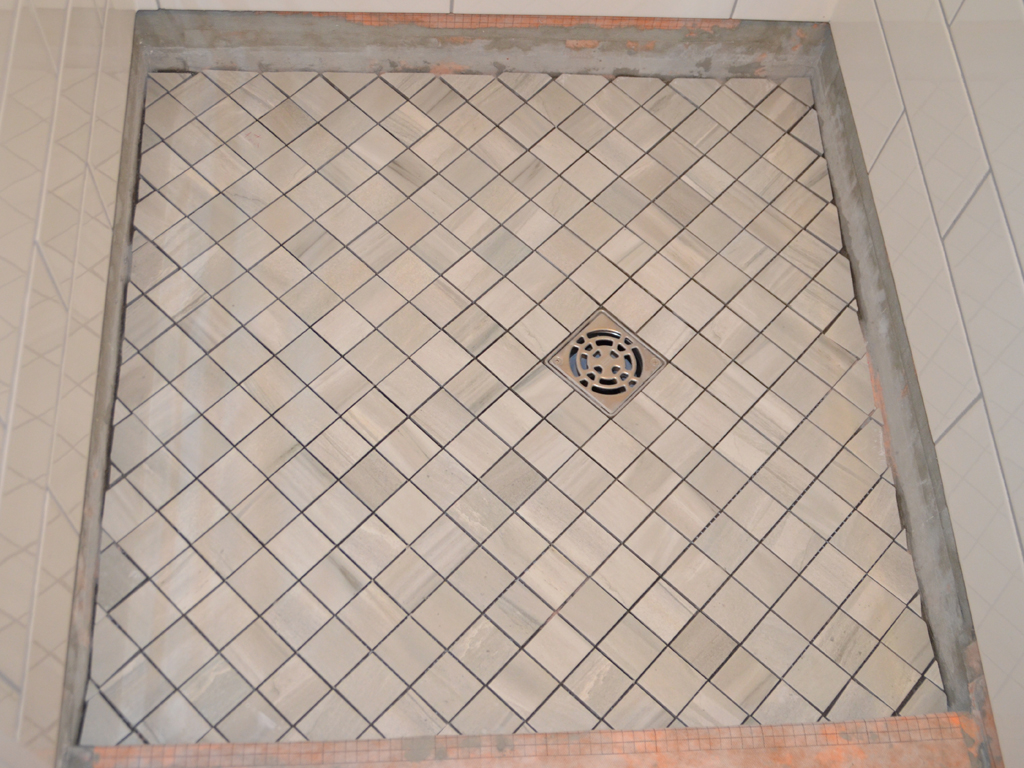
We then went back to finishing the shower curb. Mike had to cut a new tile and add new edging:

We also added new KERDI to the top of the curb before adding the tile:
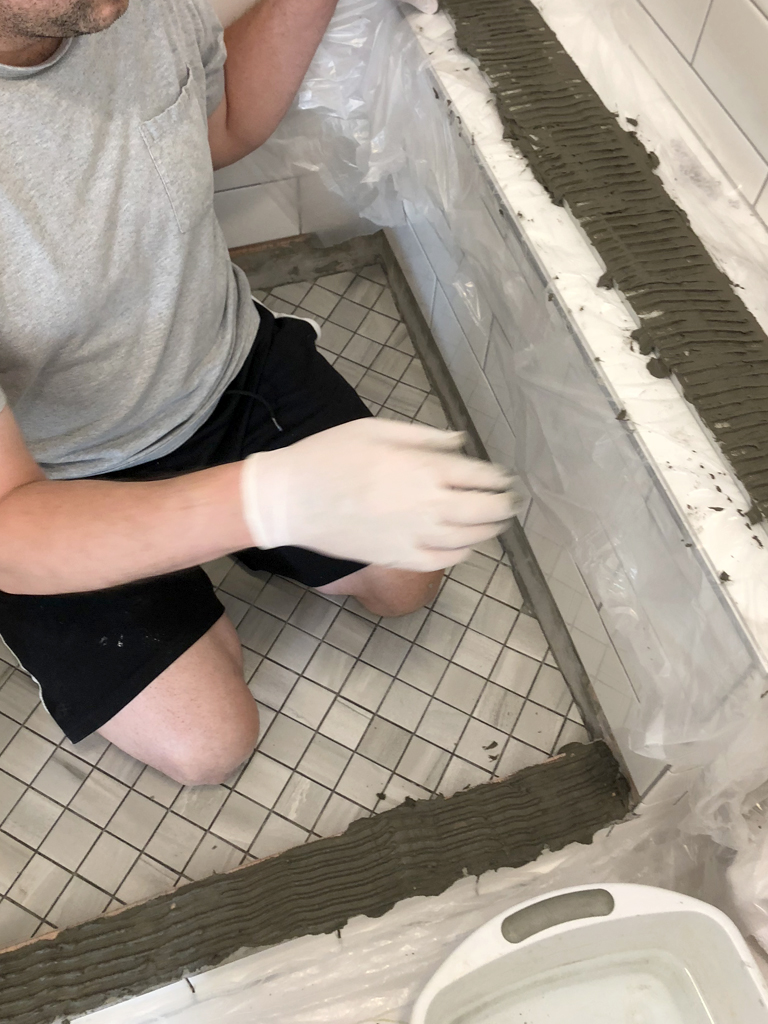
We used some plastic shims and help from stacked tiles to get the proper slope:

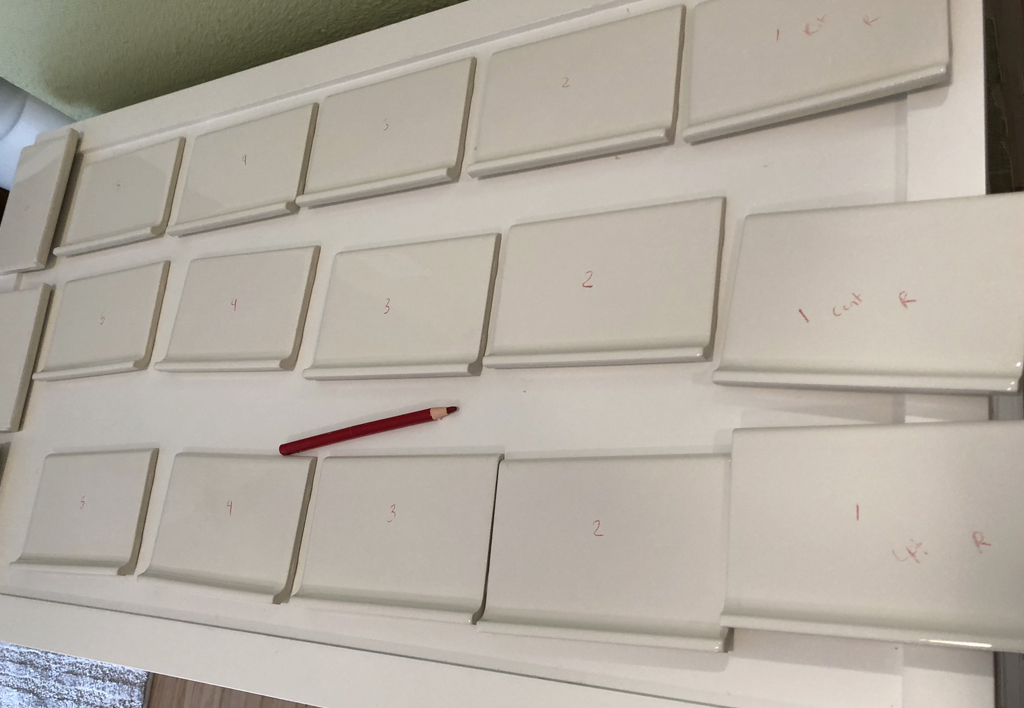
We had to make another tile decision. We used cove base tile around the outside of the shower (to give it a matching effect with the moulding) so we had to decide if we wanted to use it inside the shower as well. Ultimately, we decided to use it. We used American Olean 4 1/4″ x 6″ cove base tiles. We dry fit them and numbered them so we remembered where they went:
The cove tiles had a beveled top that Mike had to cut off. That made the cuts more difficult:
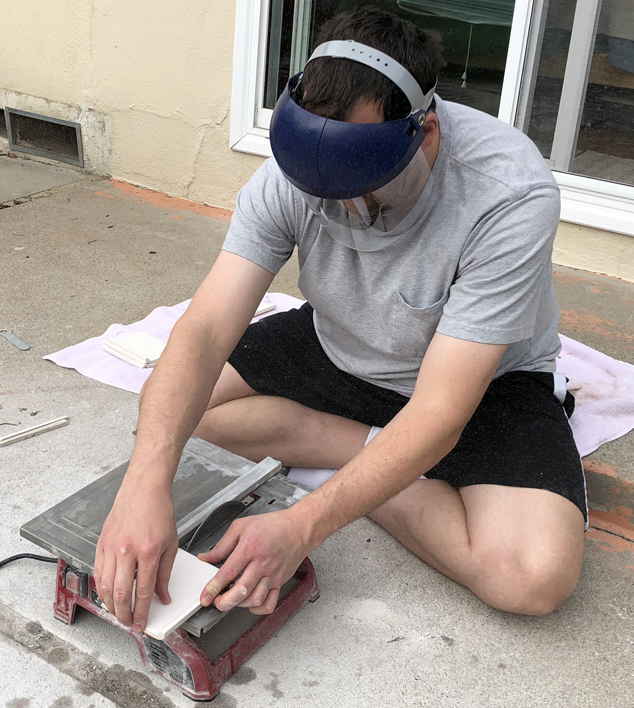
The cuts were especially difficult for the corners. Mike had to cut the bottom curve/cove part too. He even had to use a tile sanding stone to get them just right:

Once all the tile was installed, we grouted everything using the same silver grout:

We then used grout sealer on all the grout to seal it. The completed tile:
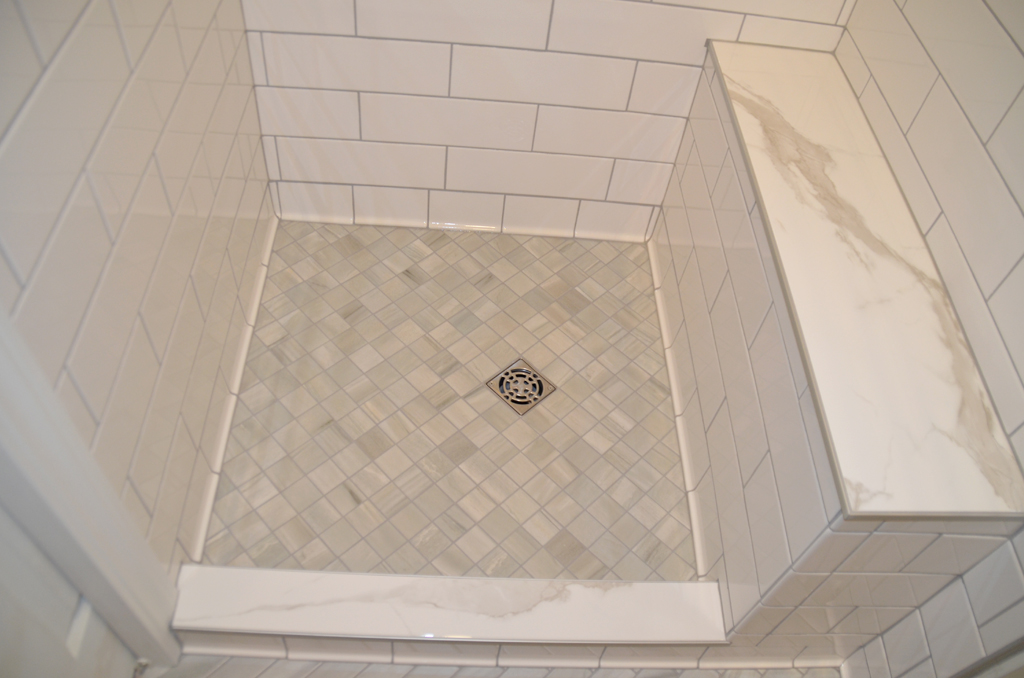

Mike installed our new shower fixtures. We purchased a La Toscana hand shower with adjustable height and a Delta Linden shower control that has a separate dial to adjust the temperature. We love them!:

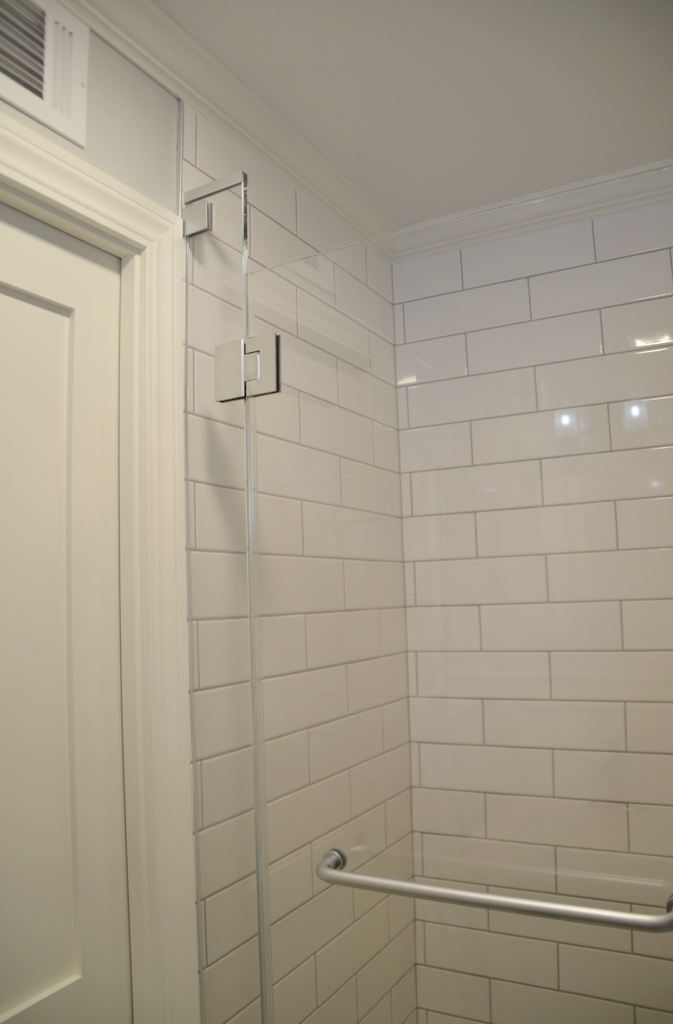
Shortly after that, we had our shower door installed. We were so glad we went with the frameless one. We love it!:
Next up is the Moulding, Vanity, & Toilet post.
************************************
RECEIPT
************************************
MASTER BATHROOM REMODEL – TILE & SHOWER DOOR PROJECT
COMPLETED
MARCH 2018
TIME FRAME
3 MONTHS
DESCRIPTION
AMOUNT
Frameless shower door
$1,845
Shower subway wall tile 4 1/4″ x 12 3/4″ x 300
$340
Bathroom floor tile 2″ x 8″ x 300
$156
Mosaic shower floor tile 12″ x 12″ x 10
$102
MAPEI Flexcolor silver premix grout x 3
$109
Shower bench tile 13″ x 36″
$96
Shower cove base tile 6″ x 4″ x 50
$63
Laser level
$62
Laser distance measurer
$52
Misc (latex gloves, putty knifes, tile spacers, sponges, trowel, float)
$52
Angle grinder & saw blade
$49
MAPEI Type 1 tile mastic for bathroom floor tile
$34
Aluminum tile edging 3/8″ satin silver x 2
$33
Reducer floor moulding (threshold)
$33
CustomBlend non-modified thin-set mortar x 4
$33
Latex gloves
$22
Faceshield
$15
Grout sealer x 2
$12
TOTAL (9% SALES TAX INCLUDED)
$3,108
