After we finished the bathroom floor tile, we hired a plumber to update our vanity plumbing. We especially needed to get rid of the weird vertical pipe so that the plumbing would fit inside our new vanity:

The plumber said the vertical pipe wasn’t needed so it was taken out and the rest of it was updated. Also our vanity pipes used to always bang when we turned the water on so the plumber fixed the strap attached to the pipes. Afterwards, Mike cut the drywall to fit over the pipes:

We then turned our attention to the walls. After removing the old floating vanity, it left a big gap in our wall texture. Looking back, I wish we had removed the vanity before texturing the walls. It’s impossible to match the texture:

I proposed that we add board & batten wainscoting. I’ve always been looking for a good excuse to use it. Mike needed some convincing but eventually got on board with the idea. I thought it would really compliment the herringbone tile pattern on the floor.
We used 4′ x 8′ sheets of birch wood underlayment to cover the wall and give us a smooth surface. We had the store cut them to the sizes we needed:

The boards fit perfectly but Mike had to cut holes for the plumbing and electrical. Our son helped a little too:

Mike installed the boards:

I primed the boards and I also painted the rest of the bathroom a light gray color, Gray Owl:

Mike then added base moulding. However, we found out that they no longer make the exact style of our base moulding that we had used throughout the rest of the house. So luckily this is a separate room so hopefully it won’t be noticed. I didn’t realize moulding designs/patterns could change so if we ever did a full-house moulding install again, I’d use something more basic:
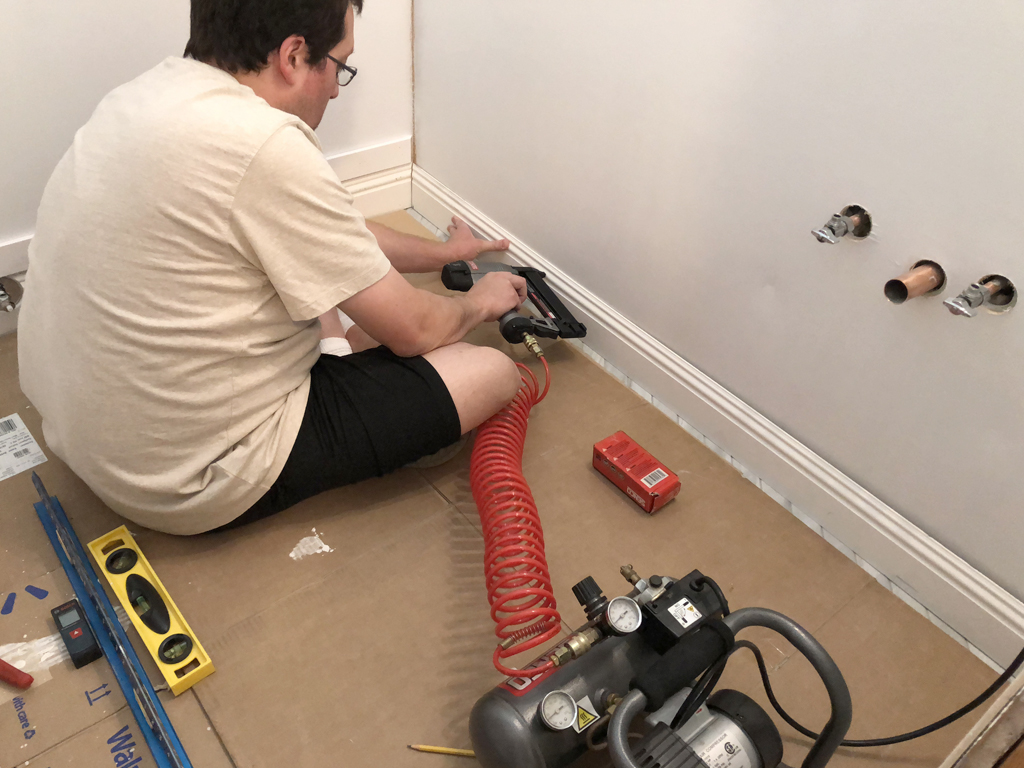
When we realized the depth of the vertical wood strips wouldn’t match top top of our base moulding, we added another horizontal wood strip across the bottom:
Mike cutting the wood for the wainscoting:

We added vertical wood strips to the corners first and then we added them evenly spaced between the corners. So the spacing between all the strips isn’t exactly the same but looks close enough. We decided to add a ledge on the top too:

Mike also installed crown moulding throughout the room that matched the rest of our house:

I caulked all the wood before painting it our trim color, Swiss Coffee. I also re-caulked and painted the window sill:

We also added quarter round/shoe moulding to match the rest of the house. The completed wainscoting and moulding:

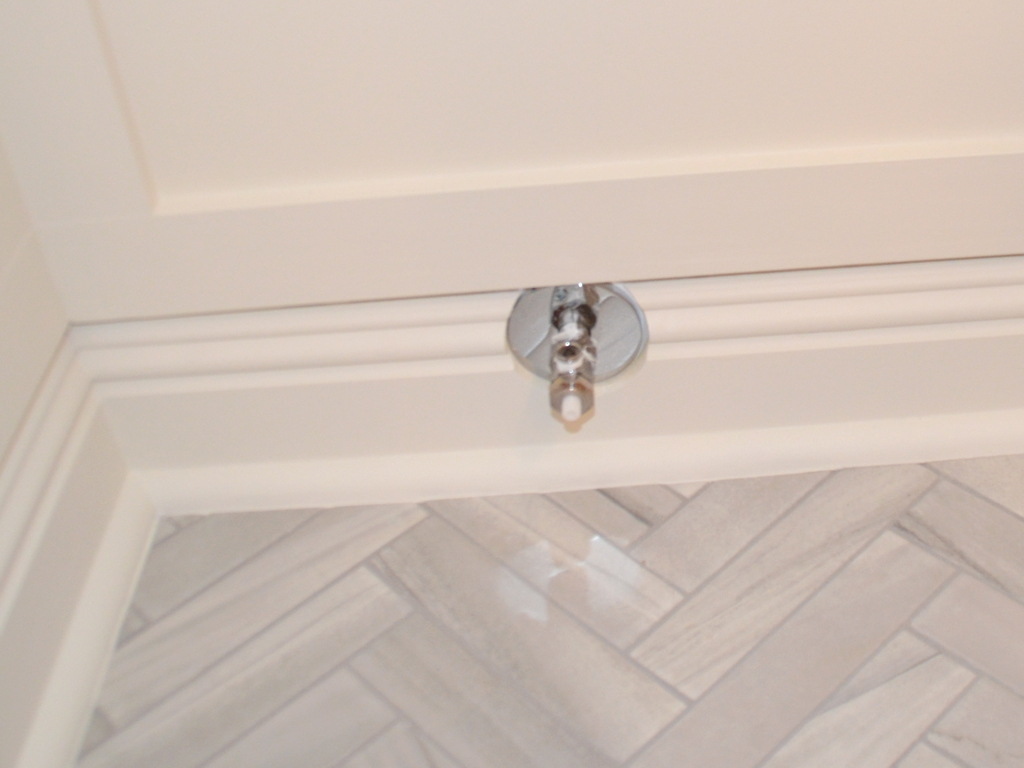
The finished plumbing with new trim plates:

The toilet plumbing:
Mike installed a new toilet flange and gasket. He pre-drilled the holes:

We used a flexible gasket instead of a wax one since they don’t deteriorate over time:

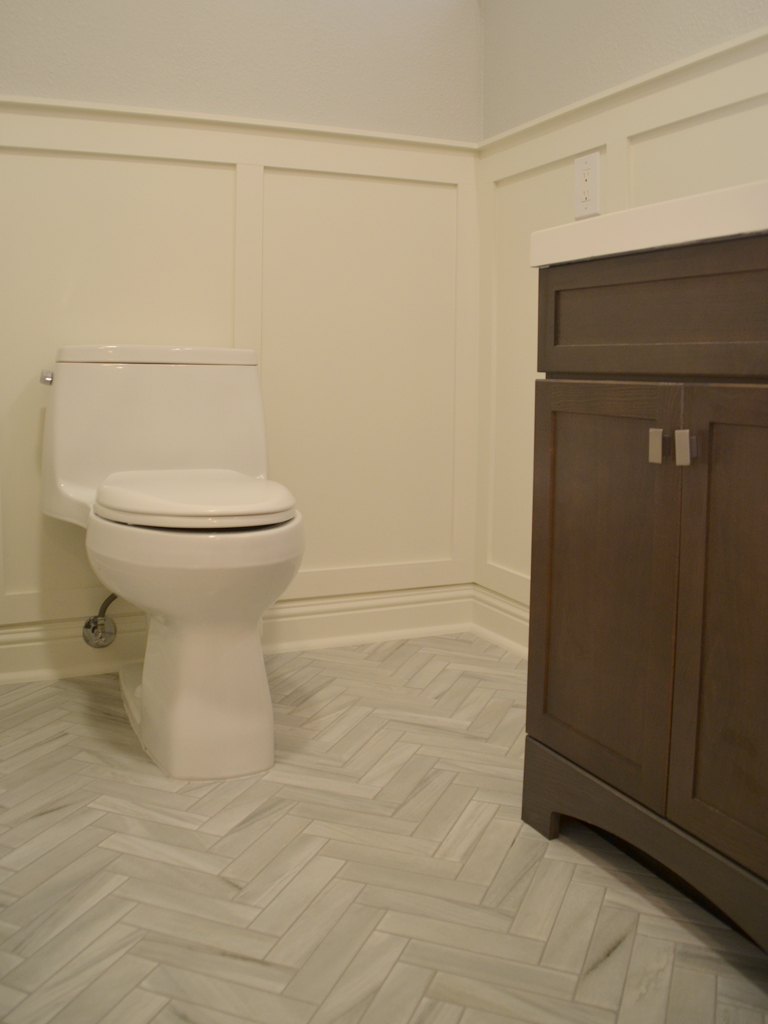
We went ahead and installed our new Santa Rosa toilet and new Drayden vanity too:

We also installed a new waterfall Delta Nyla faucet:

We installed a new Quoizel Kolt light fixture too:

I thought this would be a cool toilet paper holder:
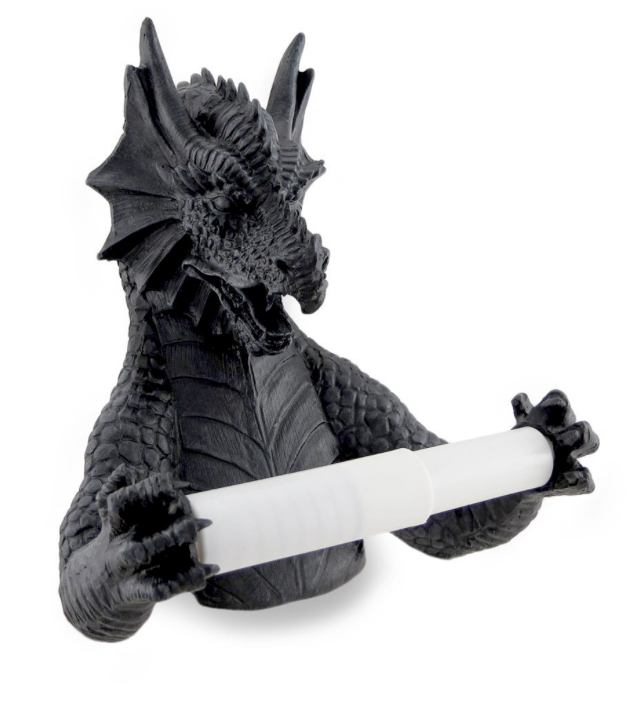
But we ultimately went with a pivoting toilet paper holder. We love it!
************************************
RECEIPT
************************************
MASTER BATHROOM REMODEL – MOULDING, VANITY, & TOILET PROJECT
COMPLETED
MARCH 2018
TIME FRAME
6 WEEKS
DESCRIPTION
AMOUNT
Toilet
$313
Vanity with countertop
$217
Plumber for vanity plumbing
$210
Paints (primer, white, gray)
$195
Light fixture
$162
Faucet for vanity
$153
1/2″ x 2 1/2″ wood (80′) for board & batten
$138
Mitter saw
$130
1/2″ x 3 1/2″ wood (48′) for board & batten
$117
1/2″ x 1 1/2″ wood (64′) for board & batten
$91
Crown moulding
$72
Casing wood 3 1/4″ (32′)
$68
Misc toilet stuff (flange, shims, plumbing)
$61
Birch wood
$55
Toilet paper holder and towel ring
$52
Misc paint stuff (brushes, roller, trays, tape, gloves)
$51
Jig saw
$44
Misc vanity plumbing
$38
Misc (caulk, spackling, putty knives, screws, wire caps)
$37
Toilet seat
$37
Base moulding
$34
Quarter round/shoe moulding
$12
TOTAL (9% SALES TAX INCLUDED)
$2,287