The first thing we did before messing with the walls was hire a plumber to update our shower plumbing. We had the plumber raise the height of the shower head (a must for Mike). We also added a shower valve for pressure balance that was needed for our new shower controls. We had the issue of when you flushed the toilet, the shower temperature would increase dramatically. The new shower plumbing: (the blue thing capped off the water)

We then cut back the drywall to the ceiling and corner – this was before doing that:

Our house is more than 50 years old so none of our walls are straight due to settling over the years. Our first job was to make the walls as straight as possible before installing cement board and drywall. We used drywall shims on the walls where they were needed – and stacked them if necessary. We also added insulation for sound barrier: (the blue tape on the ceiling was to remind us later where the studs were located)
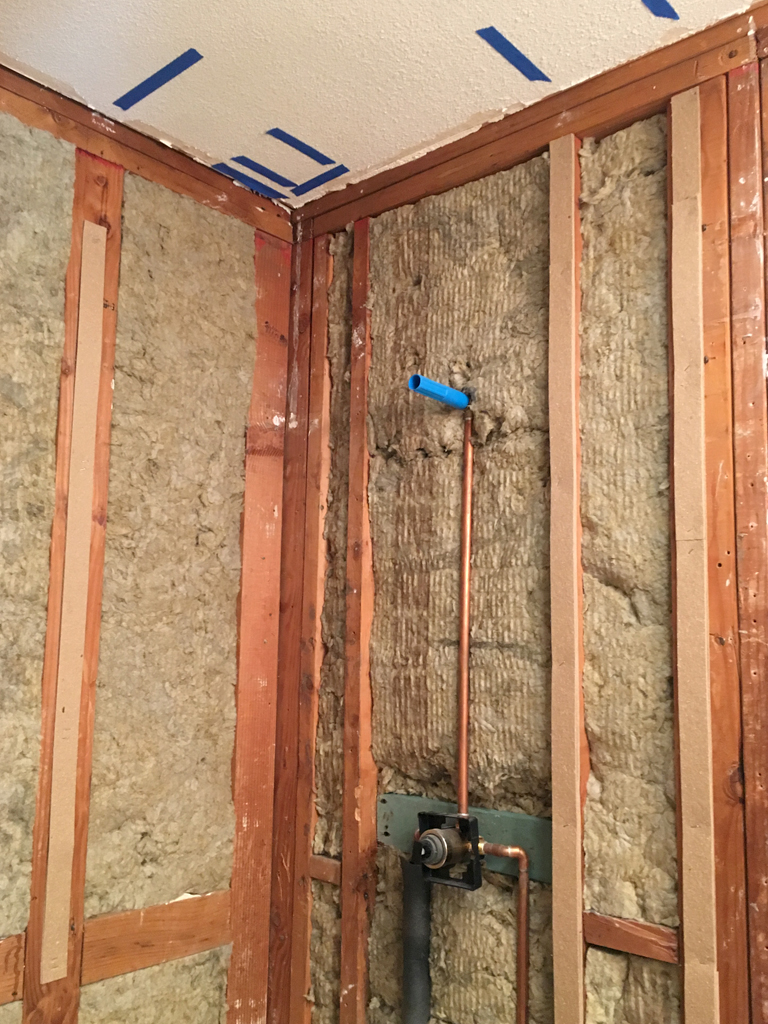
You can never have too much insulation, so we added it to any area that we opened up:

We installed a vapor barrier for extra protection for our wood studs. We attached it using a staple gun:
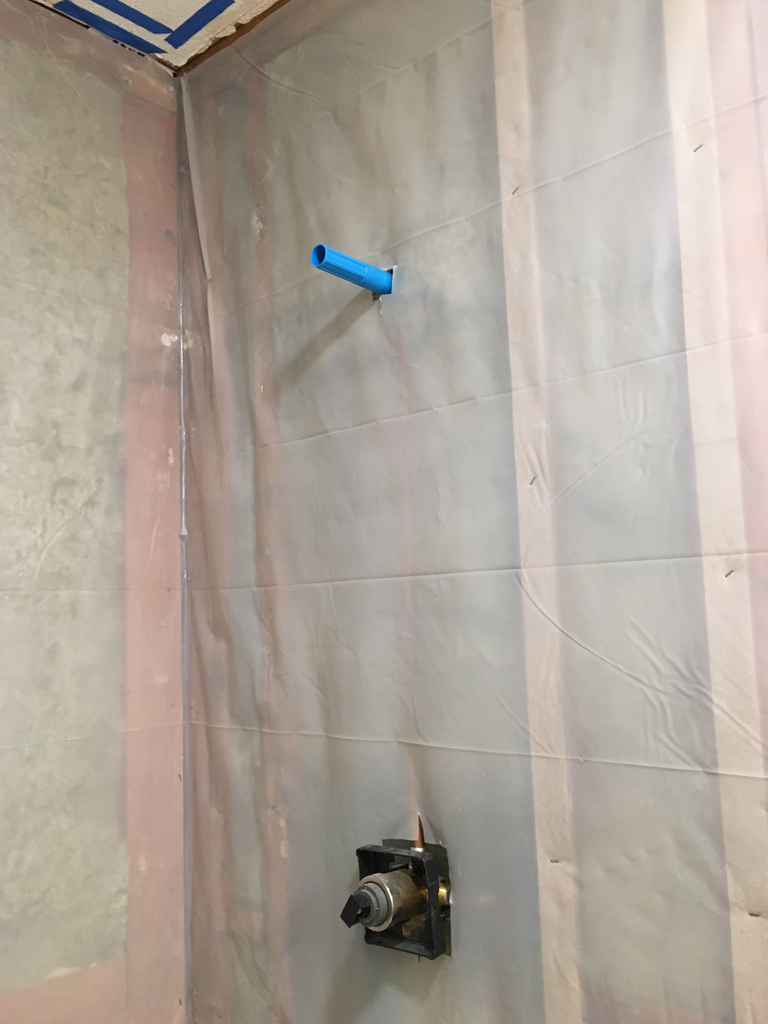

Afterwards, we taped over the staples and seams using seam tape:

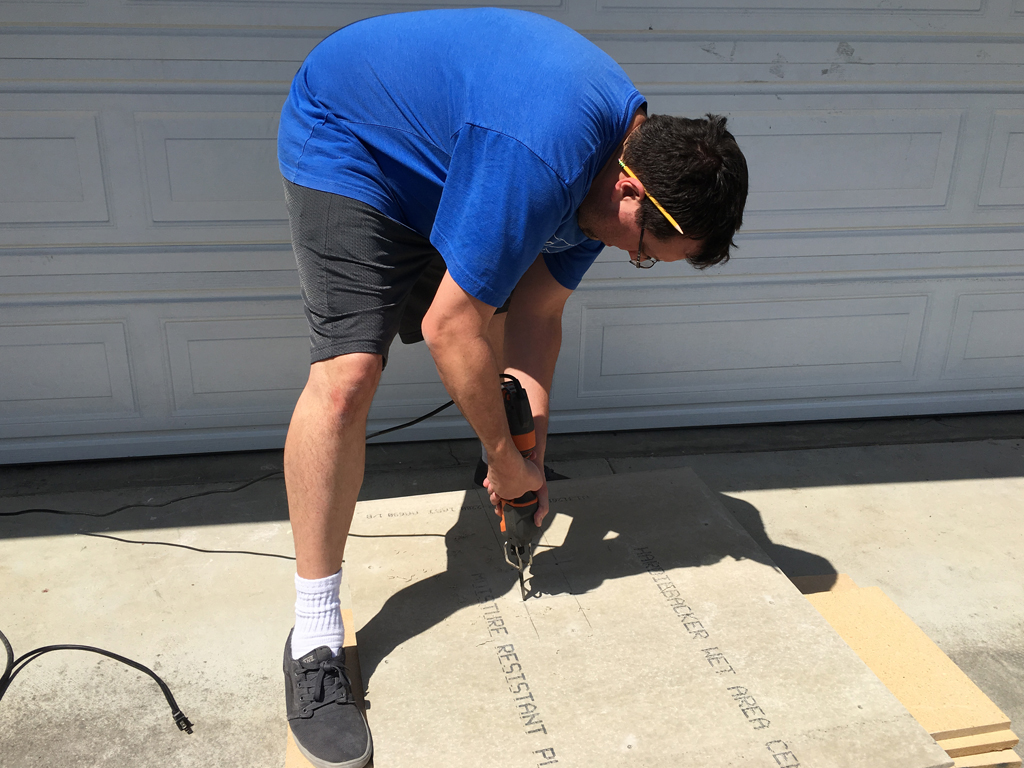
We then started measuring for cement board. It was much harder to cut than regular drywall. Mike used a circular saw to cut it:

He then used a reciprocating saw to cut out holes for the fixtures:

The cement board is heavy so it’s better to have two people install it on walls. We left a 1/8″ gap between the boards. We used cement board screws for attaching it to the studs. The screws had to be no more than 6″ apart along the edges and no more than 8″ apart throughout the middle. We actually failed our first inspection for not having enough screws. The cement walls installed:


We also installed greenboard (water resistant) drywall on any opened wall that wasn’t within the shower:


Around this time, we finally removed the toilet. We waited for the last possible moment:
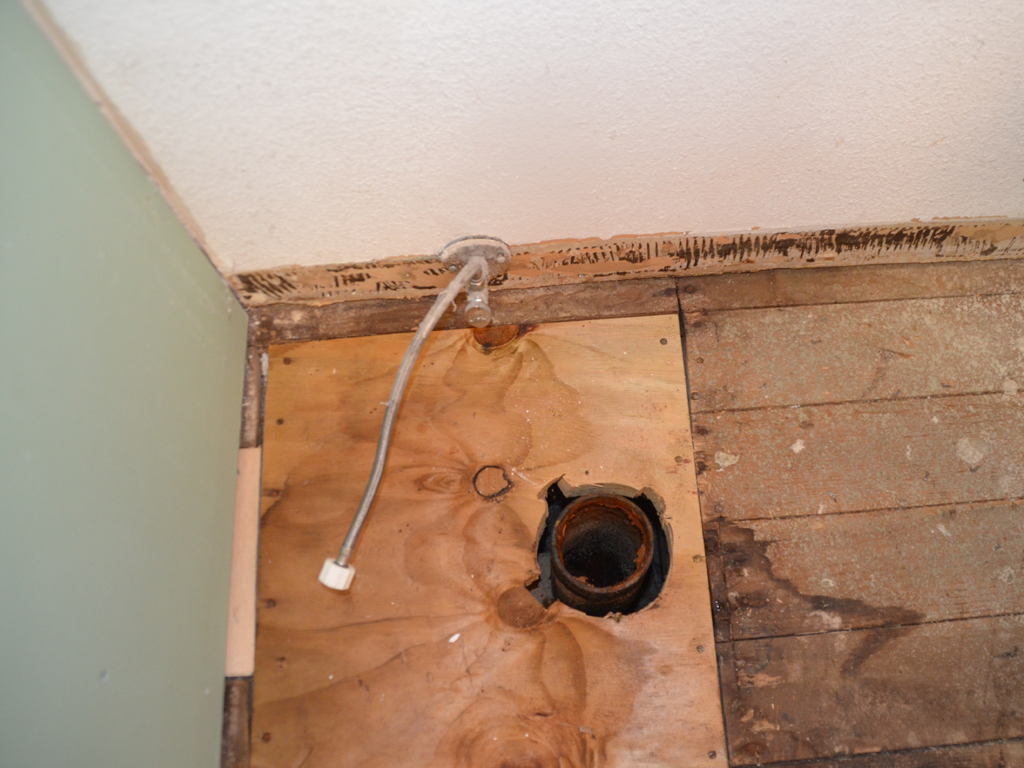
It was also time to relocate the cats’ litter box to our closet area. We figured we would add it back into the bathroom once we completed the remodel:

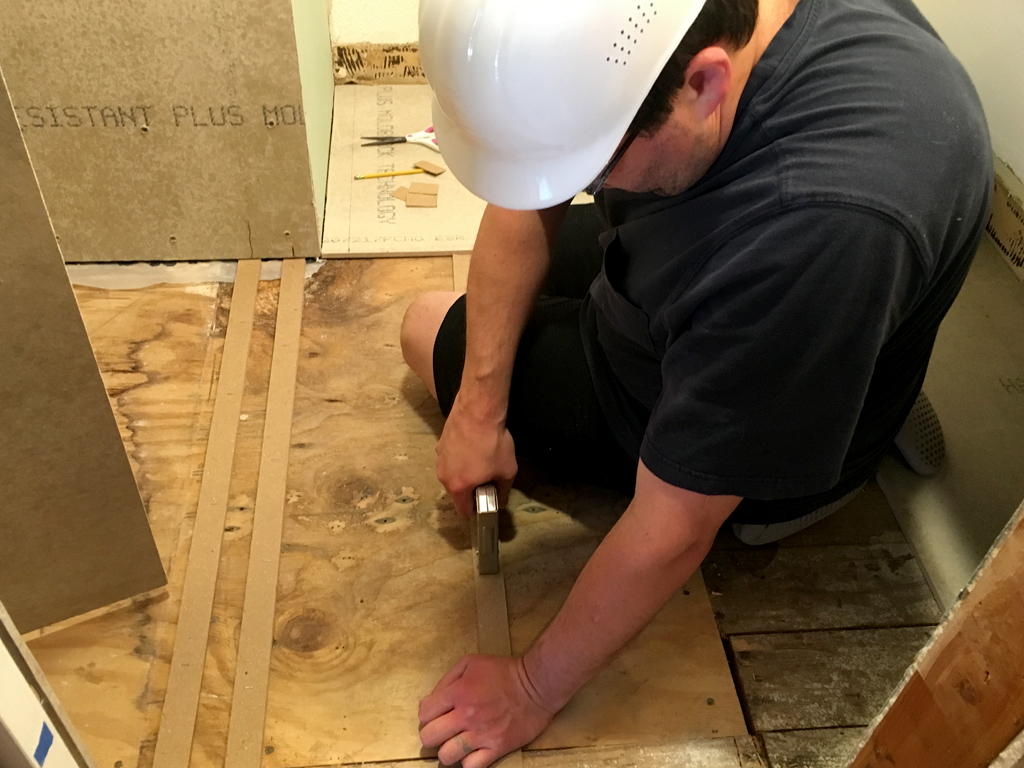
The bathroom floor was uneven as well so we added shims before installing the cement board:

We dry fit all the cement boards before attaching them. Because we still had our floating vanity in place, Mike kept hitting his head on it while working under it. So I bought him a hard hat:
Navi kept track of our progress:

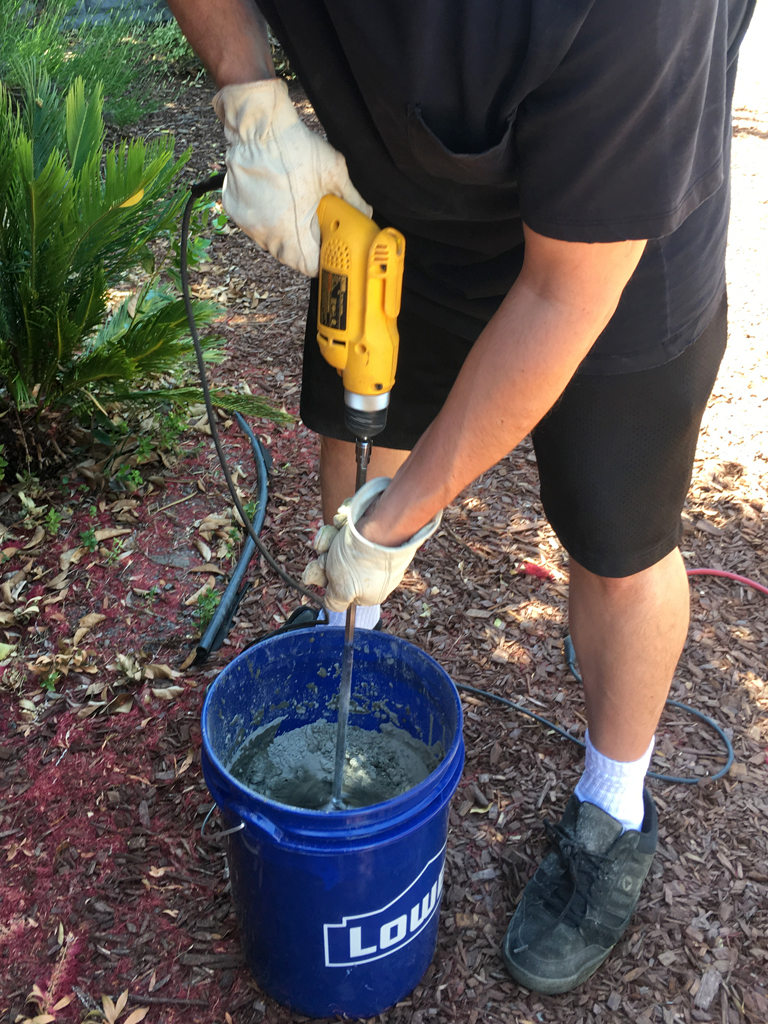
Mike mixed up some mortar to go underneath the cement boards. Right after I took this picture, the drill started smoking and died. We had to hand mix the mortar until we bought a new, more powerful drill:
We poured the mortar on the subfloor and troweled it before laying down the cement board. We also screwed the boards down in the same pattern as the walls:

Once we passed inspection for all the cement board installation, we turned our attention to the shower area. For the waterproofing membrane on the shower walls, we decided to use Schluter-KERDI. It’s expensive (compared to a painted membrane) and labor intensive but seems it offers the best water tight seal. They offer lots of instructions and videos online demonstrating how to install everything. We purchased a KERDI shower kit.
Navi loved all these new boxes we were getting:

The KERDI membrane comes on a roll like wrapping paper. We first measured the walls and cut out pieces to match. Then, we added unmodified thin-set mortar to the wall:
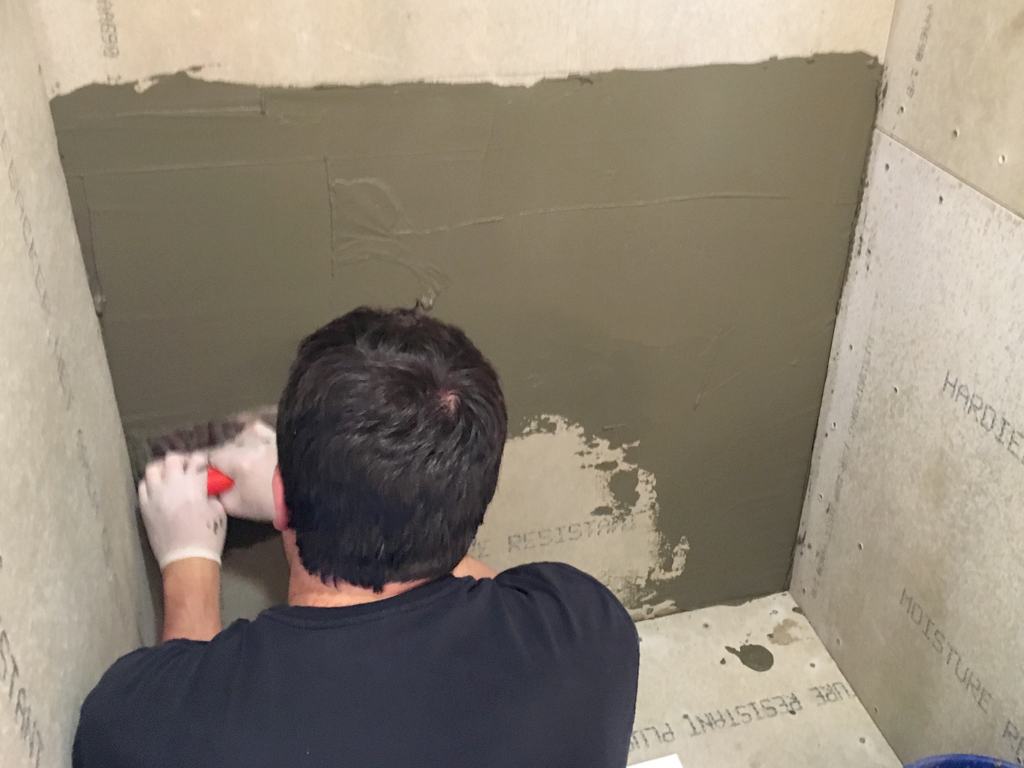
We added the KERDI membrane. We used a taping knife to smooth it out – similar to installing wallpaper, I guess:

I worked on the lower areas while Mike did the higher ones:

The KERDI kit comes with a shower curb and shower tray. Both are made out of a foam-like material so it’s easy to adjust the size. We adjusted the curb to meet minimum code requirement. We didn’t want to take up anymore floor space than we had to. Mike first used a hand saw to shorten the length:

Then he used a reciprocating saw to make it more narrow:

Mike used a utility knife to cut the shower tray down to size:

We also ordered a KERDI bench to be used like a shelf since we couldn’t fit niches into our walls. We dry fit everything with the bench:

We thought the bench took up too much space:

Mike shortened the bench and then we used mortar to attach everything together and to the wall and floor:

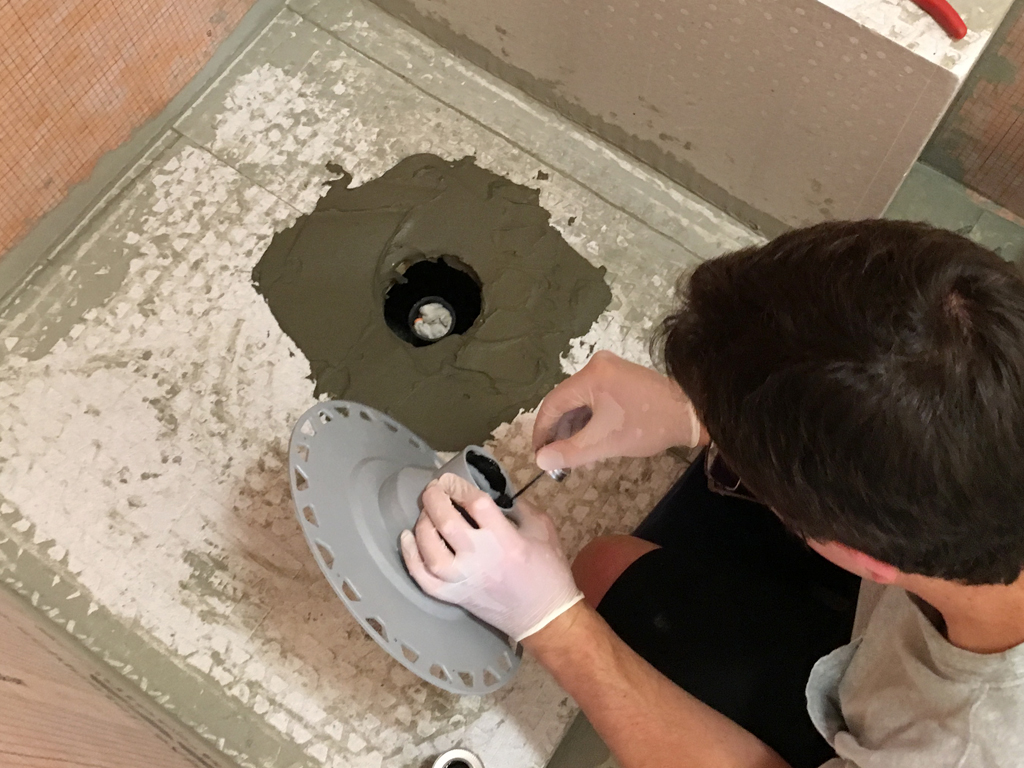
Once it was all dried, Mike installed the KERDI drain after having to cut the waste line using a pipe cutting saw that attached to his drill:


We then installed the rest of the KERDI including covering all the seams. Navi liked the new bench:

We made the decision to extend the bench onto the curb due to how the shower door would be installed. The before and after of the bench extension:

The KERDI kit also came with special pieces that went around the shower fixtures:

Now that all the KERDI was installed, we needed to pass a water test inspection. We used a test plug to plug the drain and filled it with 2 inches of water. The water needed to sit overnight and not leak. The inspector checked it the following morning. We passed!:

Once the inspector left, I wanted to drain the water right away. So I tried loosening the plug but I guess I loosened it too much or something and the bottom half of the plug fell down into the drain. The water that drained down then pushed it further into the pipe. Yikes!
Later that night, Mike and I tried everything we could think of to locate it and pull it back up but nothing worked. We even drained the water out of the pipe using a turkey baster and drip hose to see if we could spot the plug:
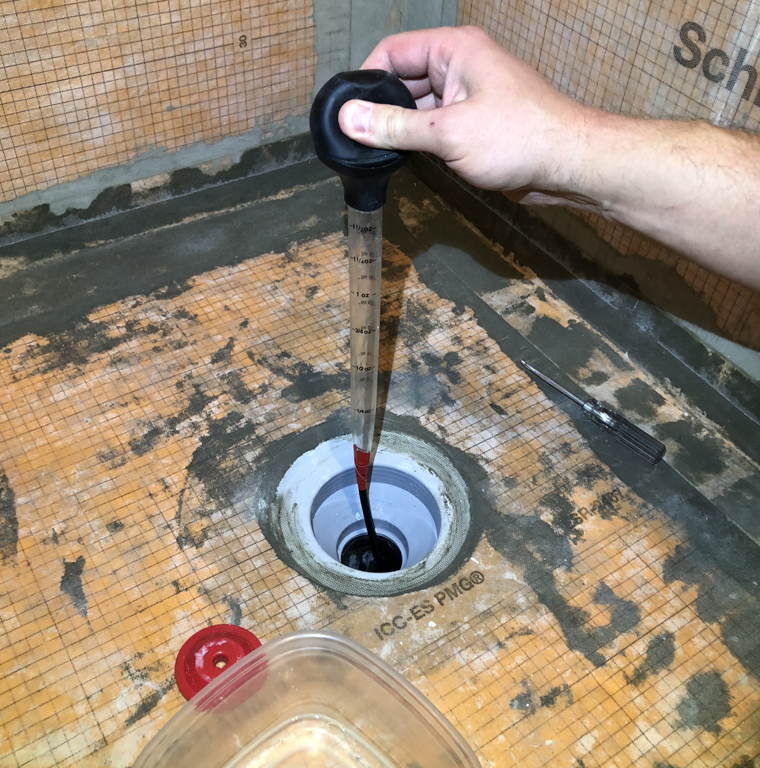
At least it didn’t cause any water backups so we figured we’ll just deal with it later. We can hear a knocking-like noise coming from the front of our house whenever we turn on any water so we assume the plug is stuck somewhere around there. At some point we’ll hire a plumber to investigate.
Next up is the Tile & Shower Door post.
************************************
RECEIPT
************************************
MASTER BATHROOM REMODEL – WALL & FLOOR PREP PROJECT
COMPLETED
MARCH 2018
TIME FRAME
3 MONTHS
DESCRIPTION
AMOUNT
Plumber for shower
$495
Kerdi shower kit
$487
Kerdi shower bench
$210
Cement board
$138
Hammer drill
$124
Additional Kerdi
$58
Insulation
$48
Screws (cement and drywall)
$45
Misc (tape, joint compound, trowel, staples, corner bead)
$42
Drain (test plug, glue, pipe cutter, cleaner)
$30
Vapor barrier 6 mil
$26
Mortar & mixer
$25
Thinset
$23
Greenboard drywall
$15
Shims
$14
TOTAL (9% SALES TAX INCLUDED)
$1,780
