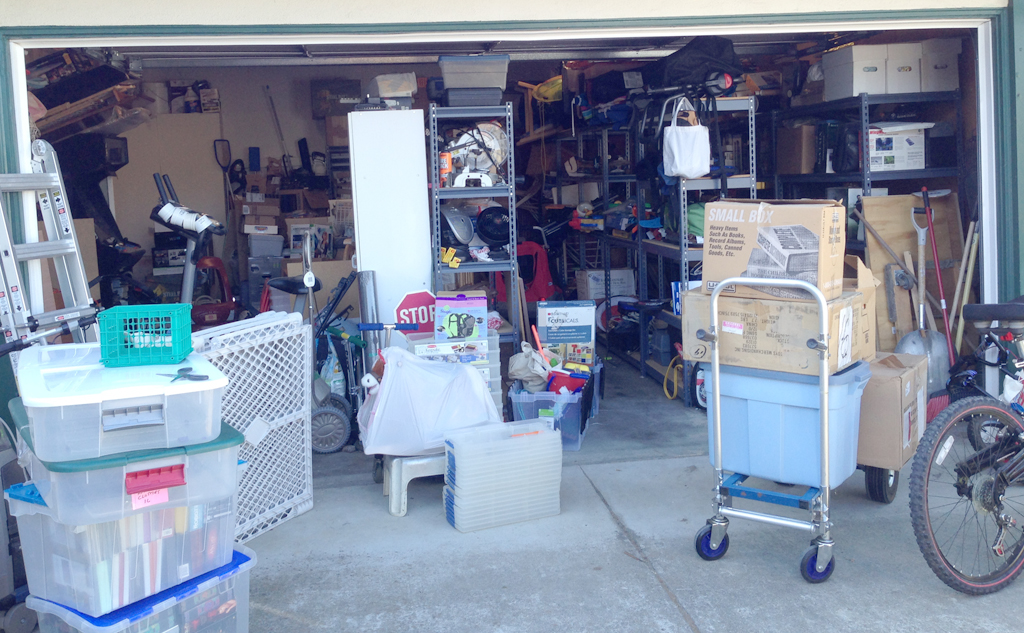
We don’t have basements in California so our garage is like a basement. It had exposed wood, concrete flooring, and a ton of spiders. I hated being in there. We mainly used it for storage. We never had room to park a car.
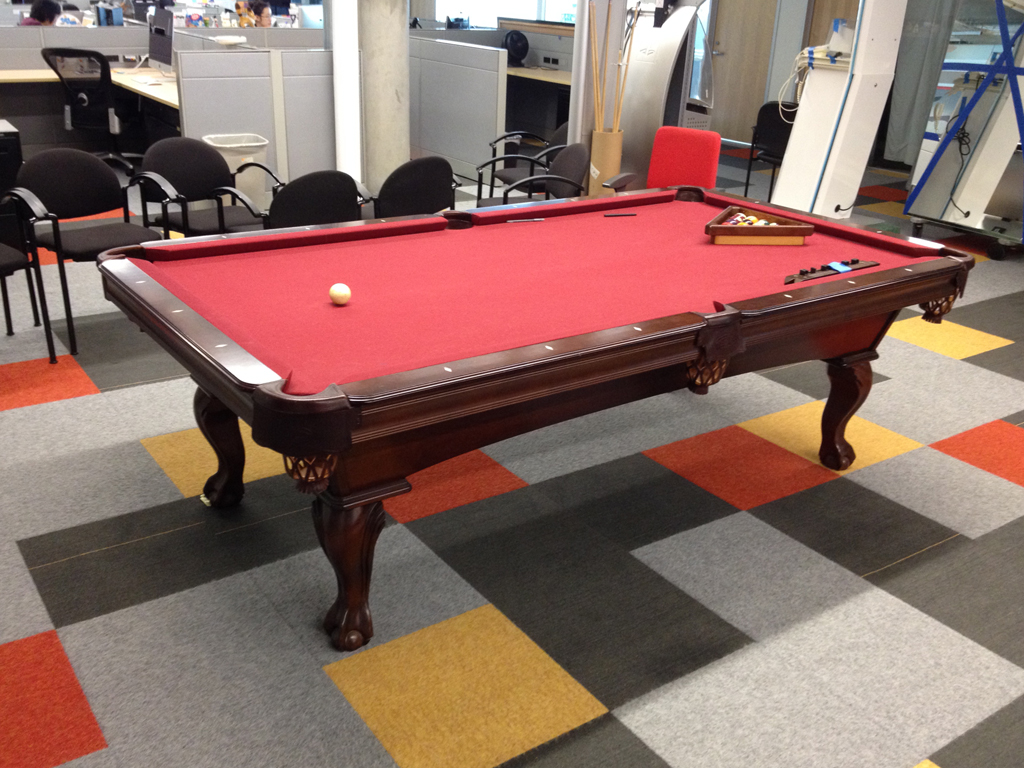
The garage space was always on the back burner for remodeling. It became top priority when Mike won a pool table at work. Yes, won! They no longer had space for it at work. The catch was we had to move it ourselves:
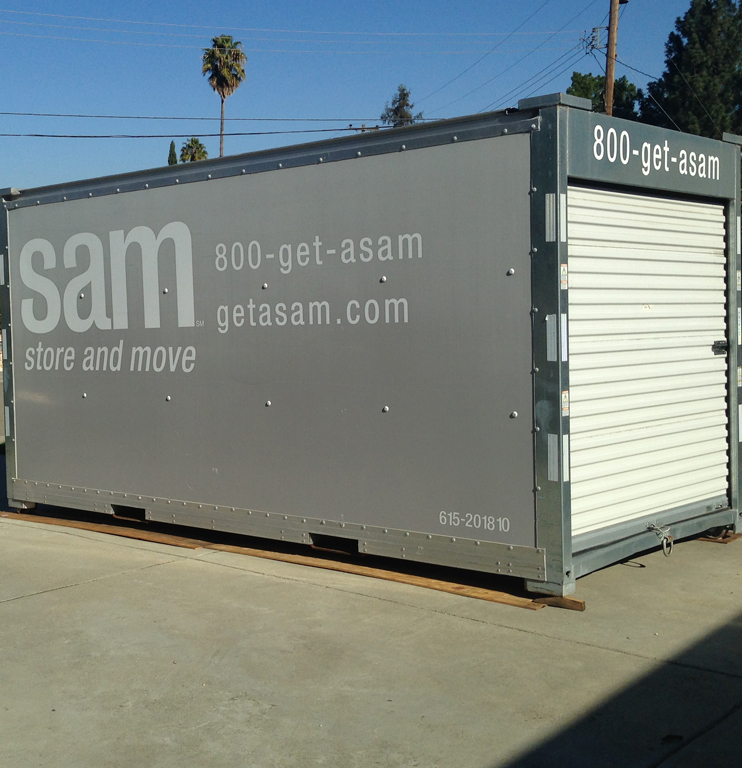
We had a few weeks before we had to move it so the first thing we did was rent a storage pod. We moved everything from our garage into the pod:
Yeah, that’s a lot of stuff! We got rid of some things:
We also removed some random wood on the walls and got rid of old insulation. I also vacuumed all the spider webs off the studs. While all the wood was exposed, we had a termite inspection. Everything looked good.
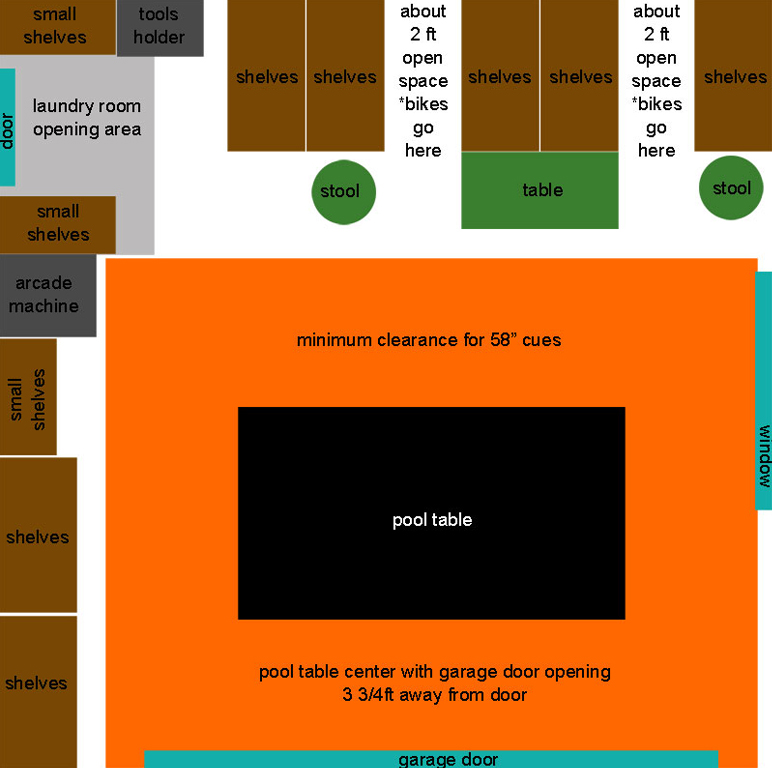
I came up with a design plan for where we’d place the pool table. We still had to leave room for all the stuff in the storage pod too:
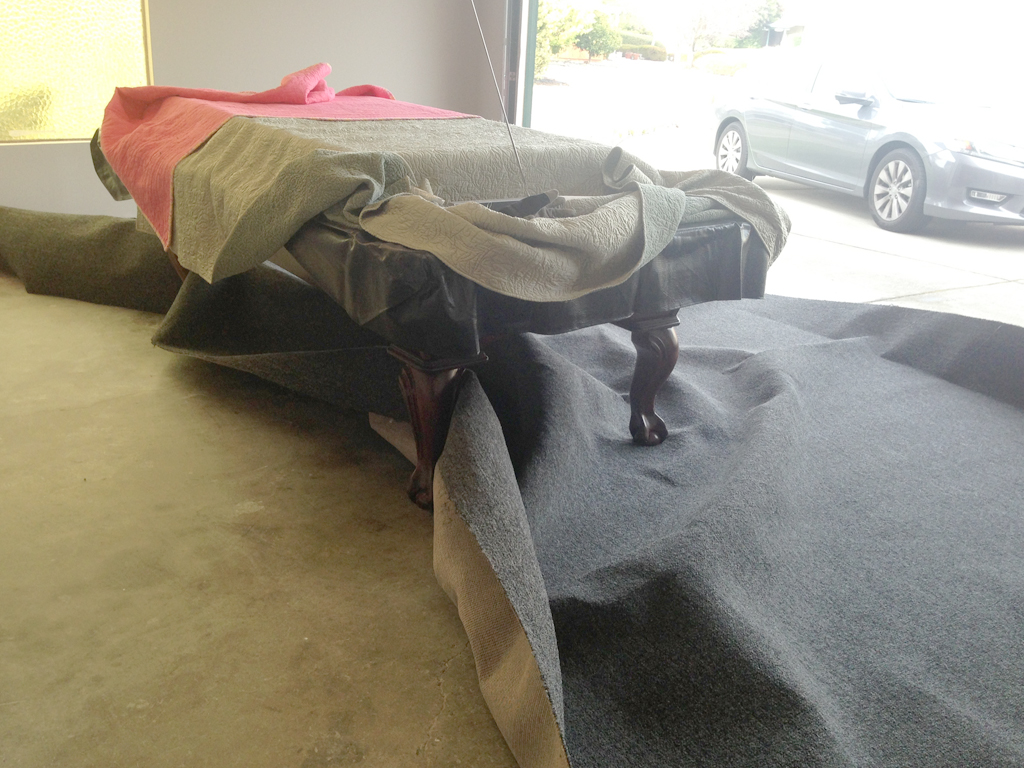
We thought we would just rent a u-haul and move the pool table ourselves but a quick search online squashed that idea. Instead, we hired a professional pool table moving company. It cost us $495 to move it from San Francisco to our home (about 40 miles). It was a nice table so it seemed worth it:
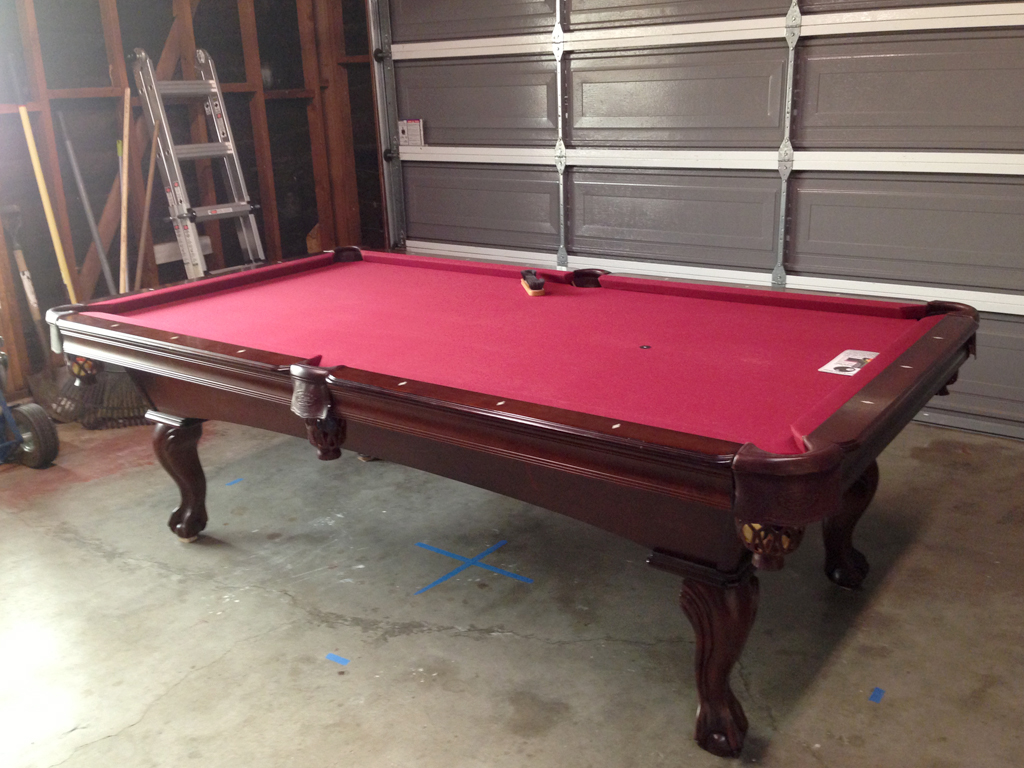
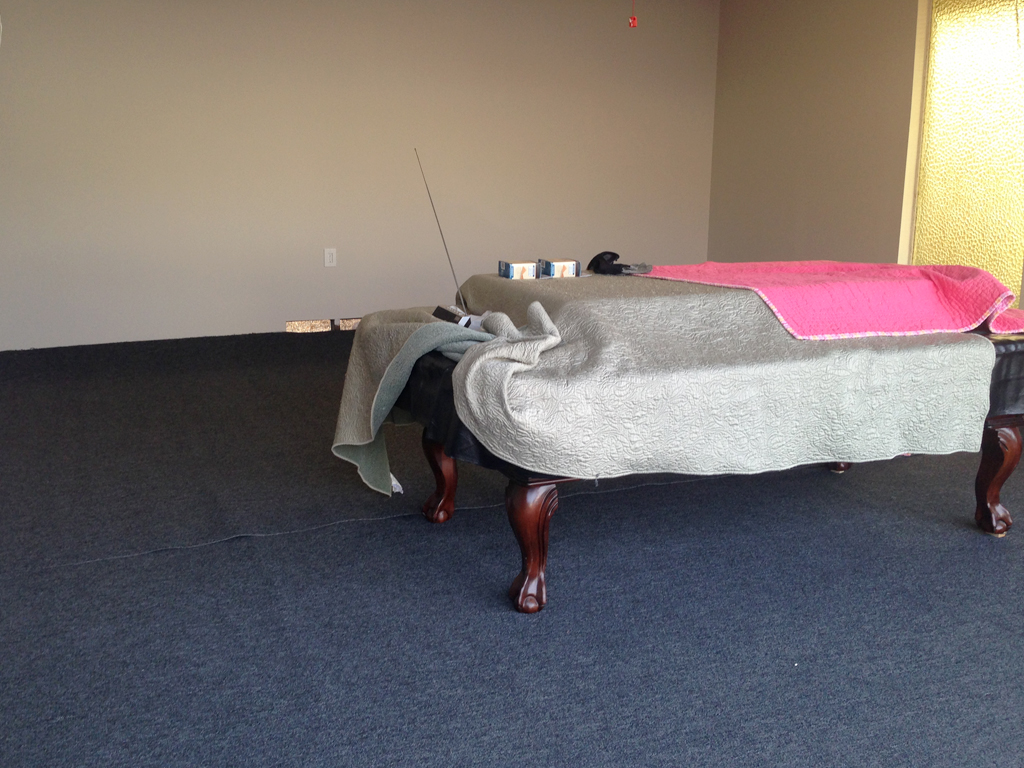
The pool table sat there for the entire remodel project. Everyone had to work around it. We covered it the best we could to protect it from all the construction.
We took out a city permit for all the work we wanted to complete and had an initial inspection. I like the initial inspections since they help explain what we need to do and answer our many questions. The one thing we learned was that we needed to add a bunch of vents in the garage attic. It makes sense for airflow and to avoid moisture issues. We know people that enclosed their garage attics with no venting (without a permit). It’s worth it to get a permit so you do it right.
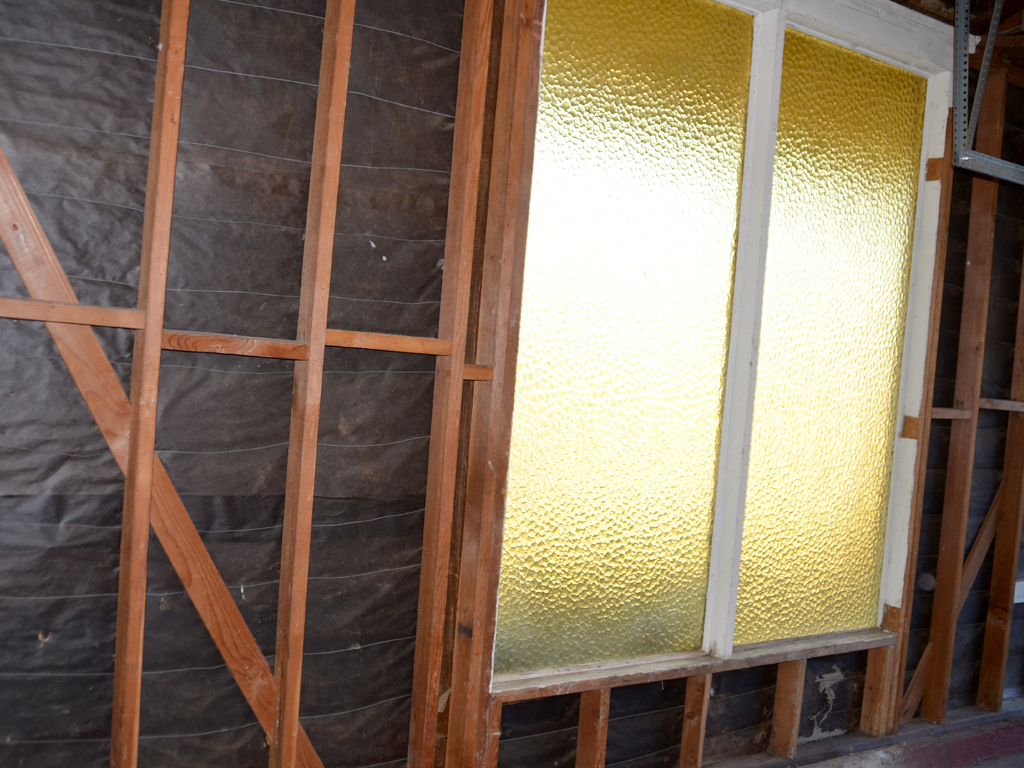
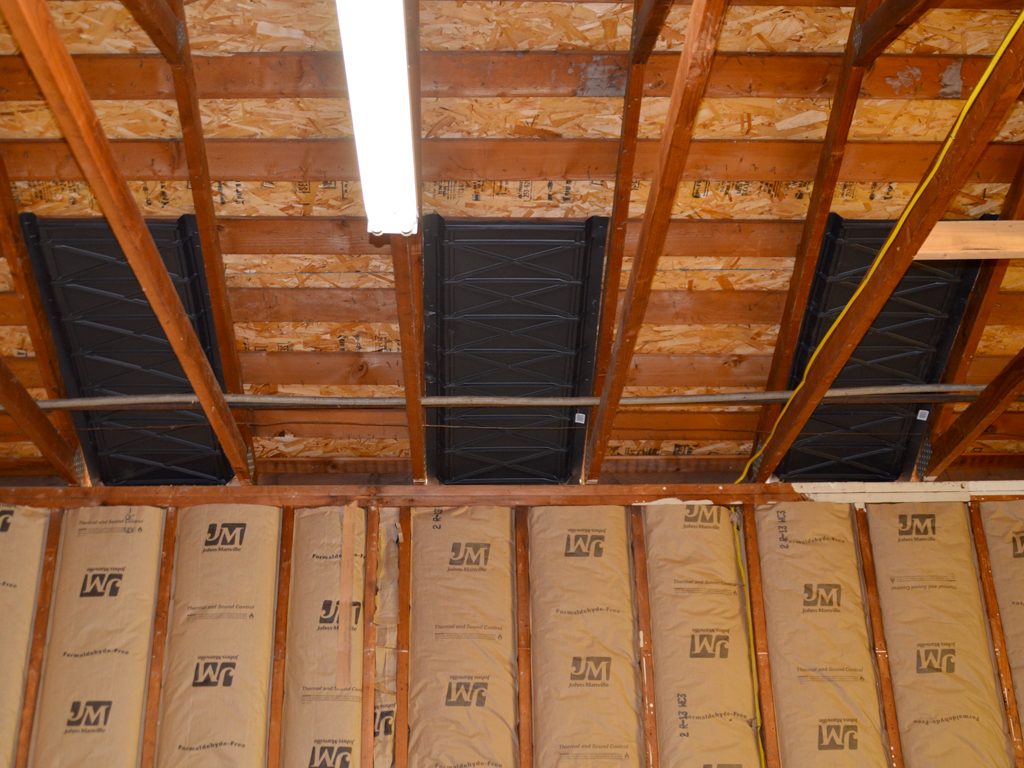
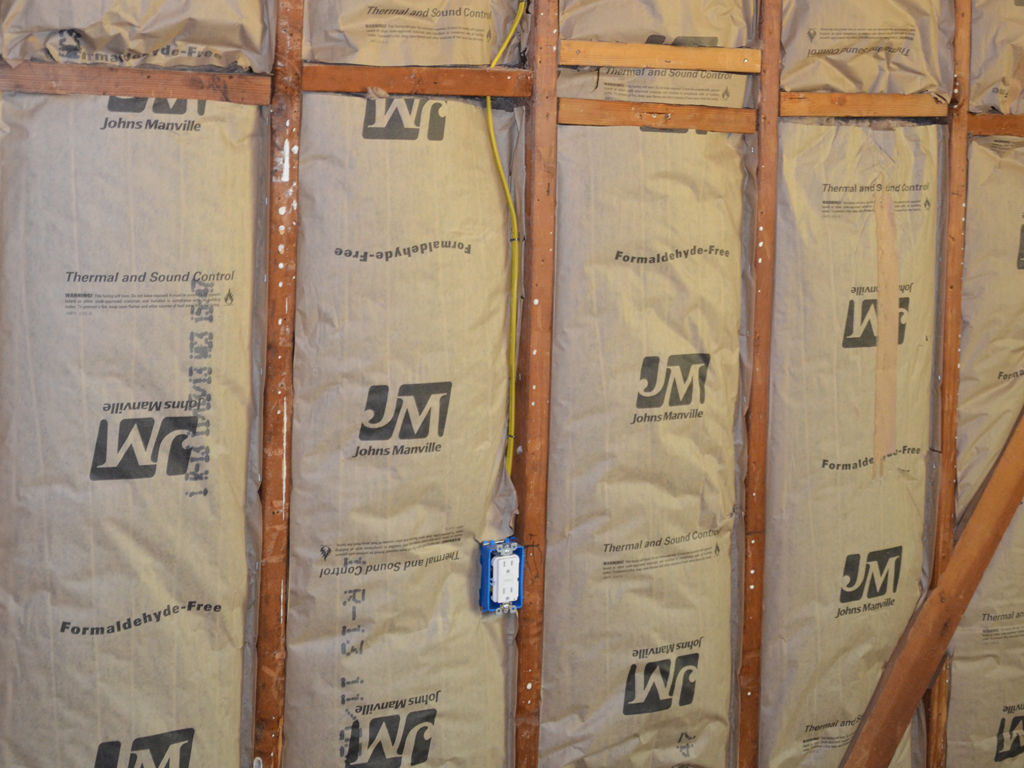
We started with adding insulation to the walls. We purchased R-13 kraft-faced insulation. The walls before insulation: (we plan on replacing the window later)
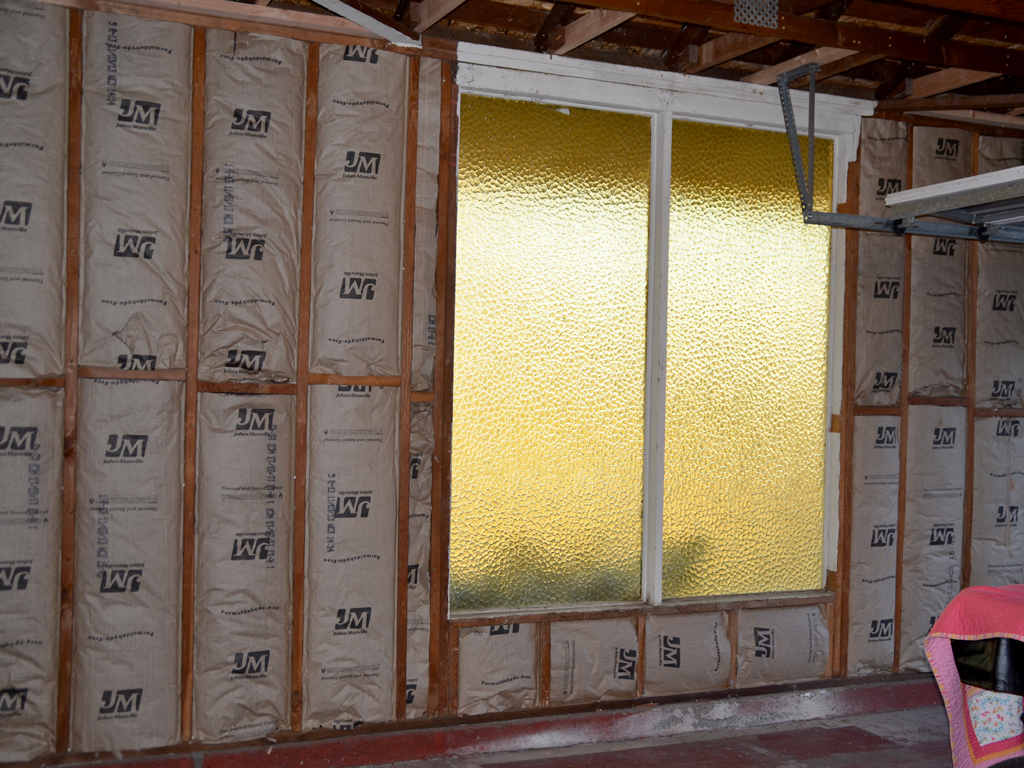
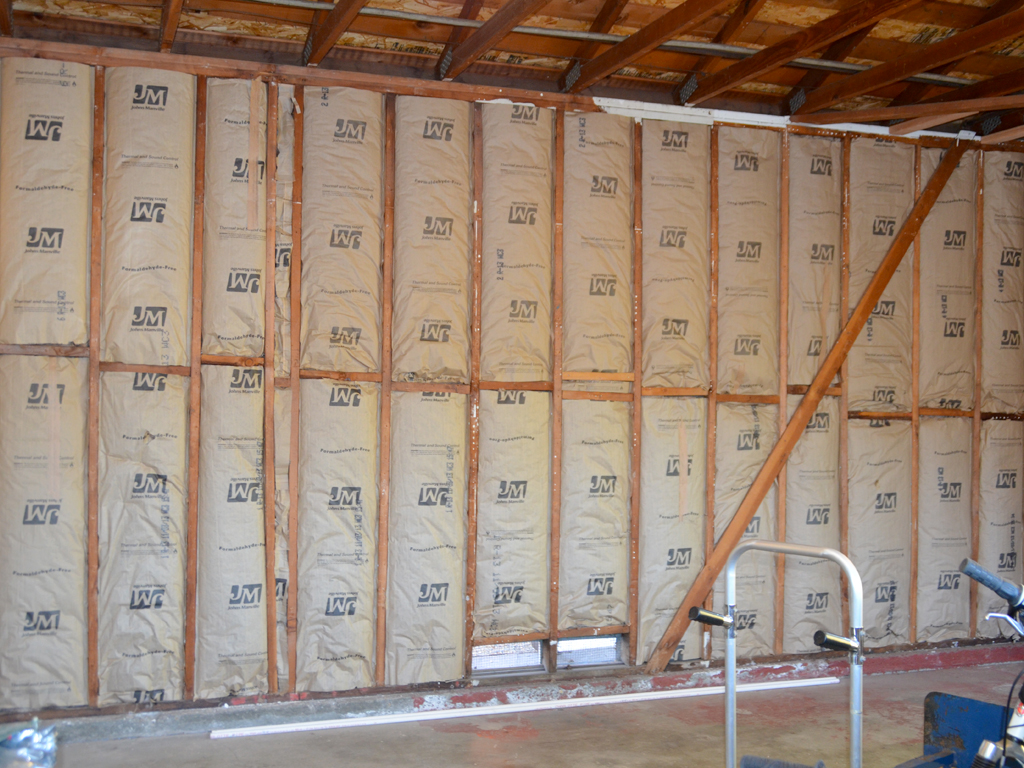
It was relatively easy for us to handle the insulation install ourselves. We both could work on it at the same time. We wore long sleeves and gloves. We measured each space between the studs and cut the insulation to fit using a box cutter. We then stapled the paper to the studs. The walls with insulation:
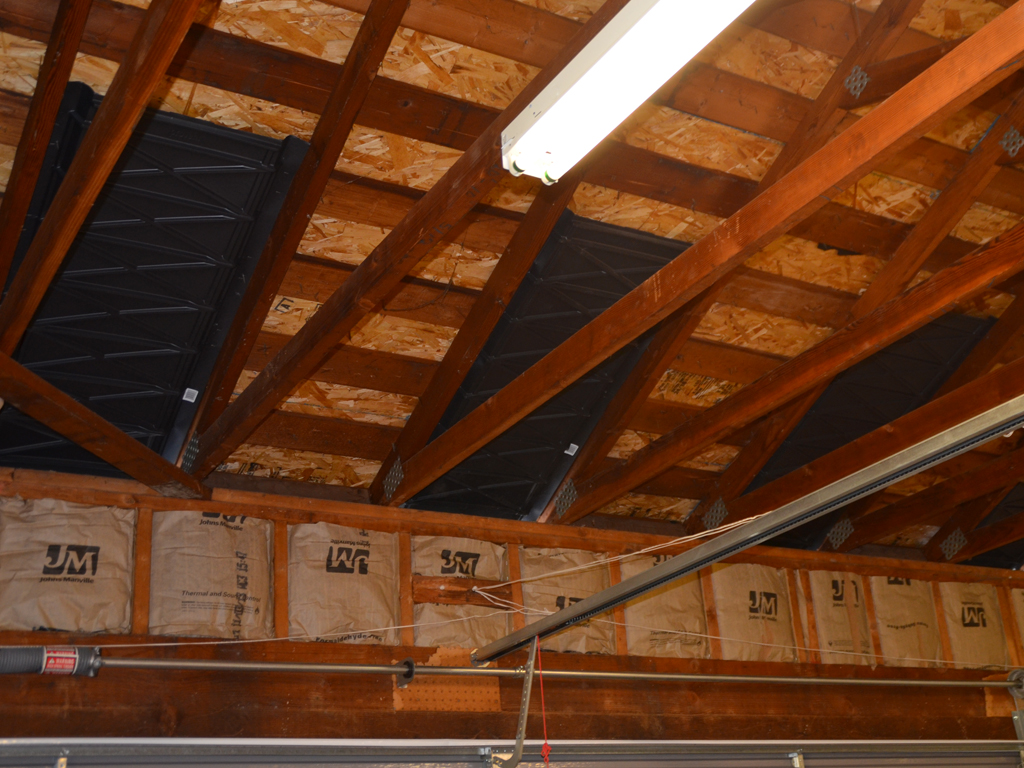
We hired professionals to install the roof vents. They added one roof louver vent near the ridge:
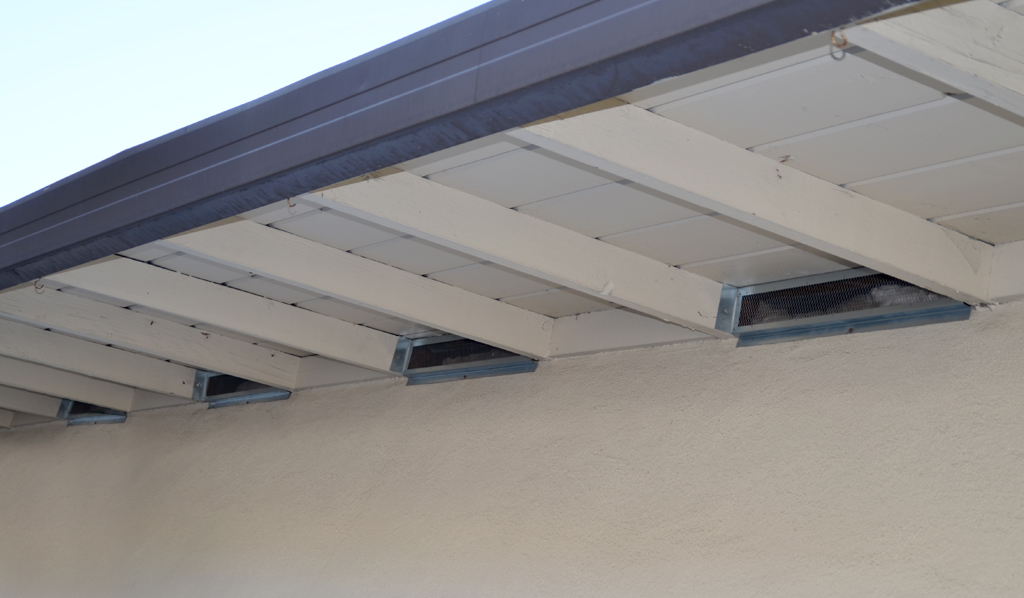
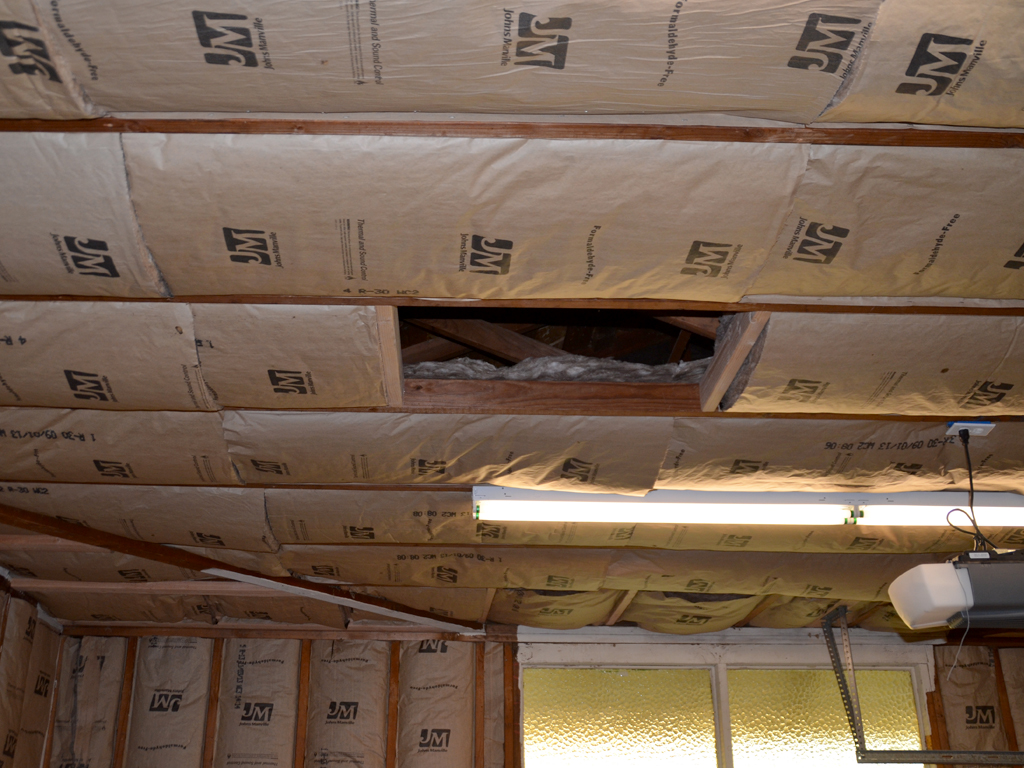
And ten soffit roof vents:
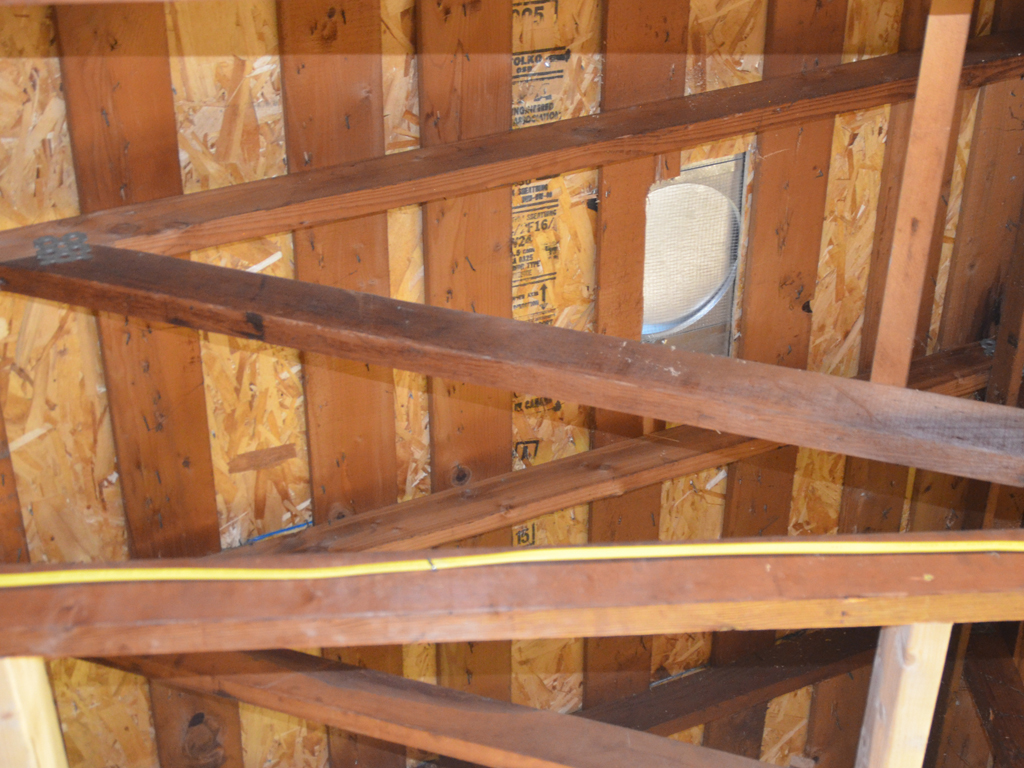
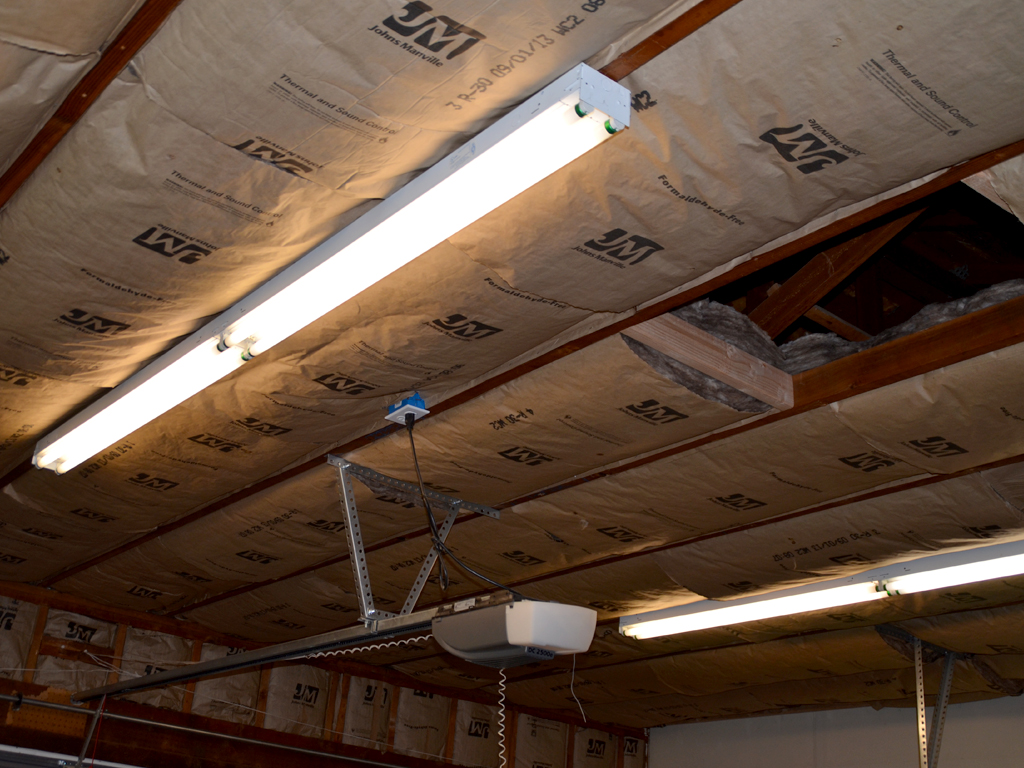
Mike installed the ten rafter vents that lined up with the soffit vents:
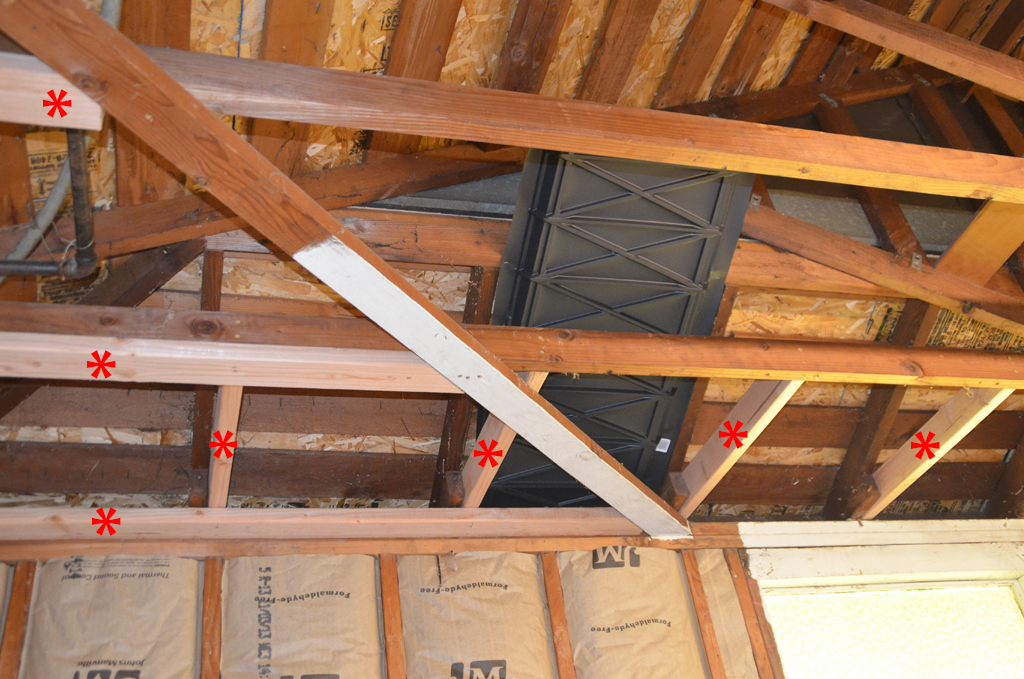
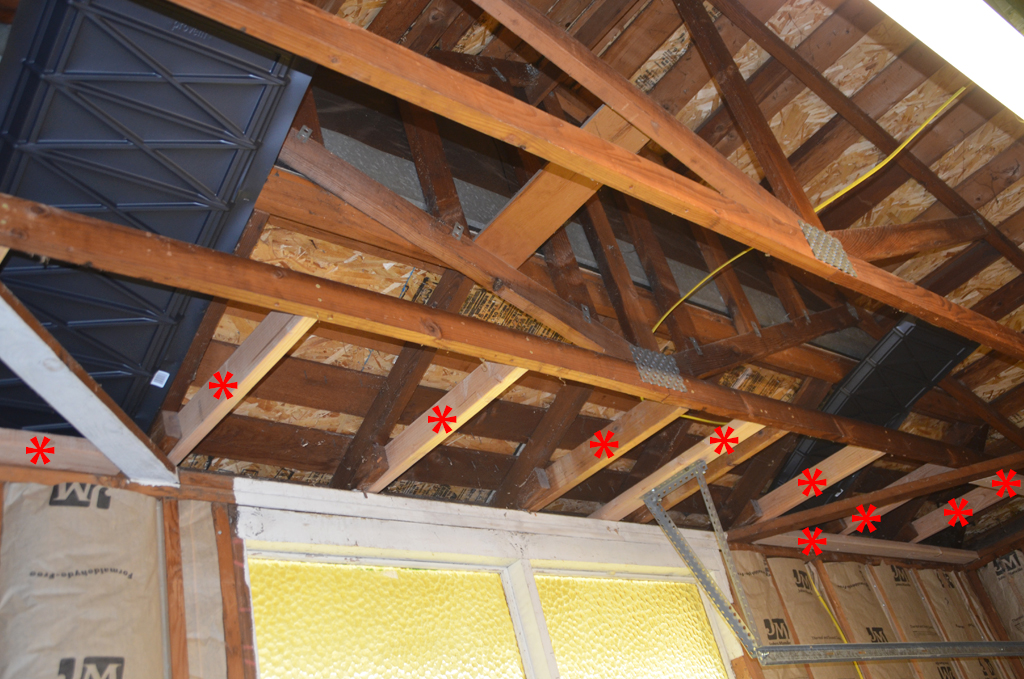
Also at our initial inspection, the inspector had mentioned that we needed to add wood where there was none for the drywall to attach to. Luckily, our brother-in-law (who is a master carpenter) visited a few weeks later and instructed Mike on how to install the new wood. All the asterisks show the new pieces of wood:
We then hired an electrician to install new electrical outlets. We originally only had one outlet in the entire garage. We added a new one on each wall:
We also had the electrician add a dedicated circuit for the garage door opener. The previous homeowner had it plugged in using an extension cord to the one outlet:

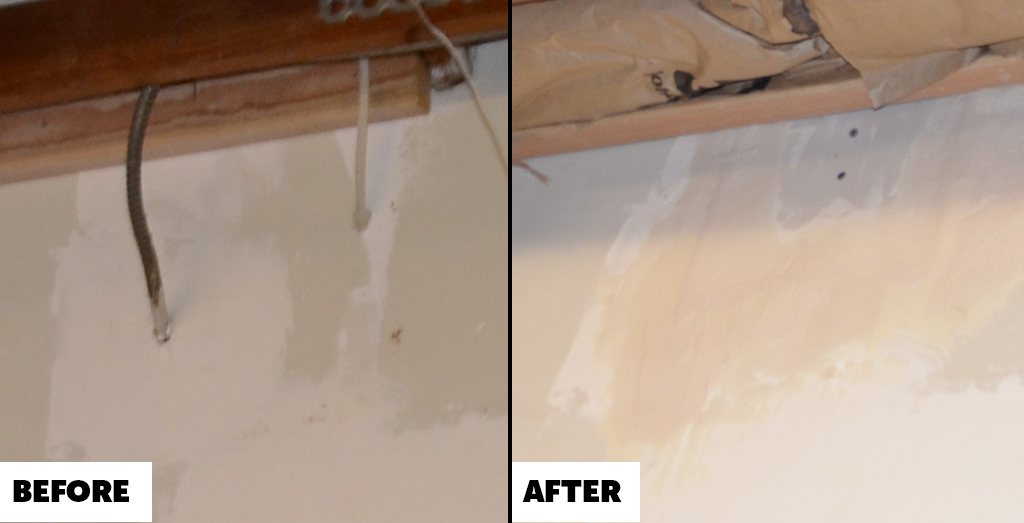
Mike hid some electrical wires within the drywall using metal nail plates to protect them:
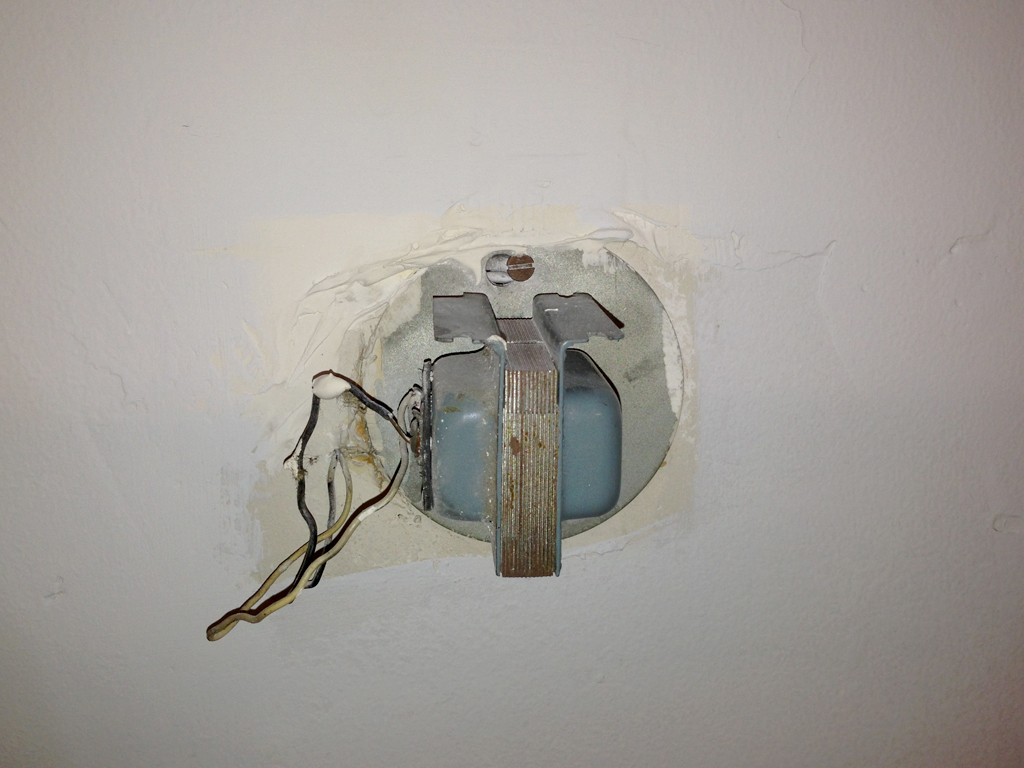
We also found this old transformer. We later found out it was for the doorbell:
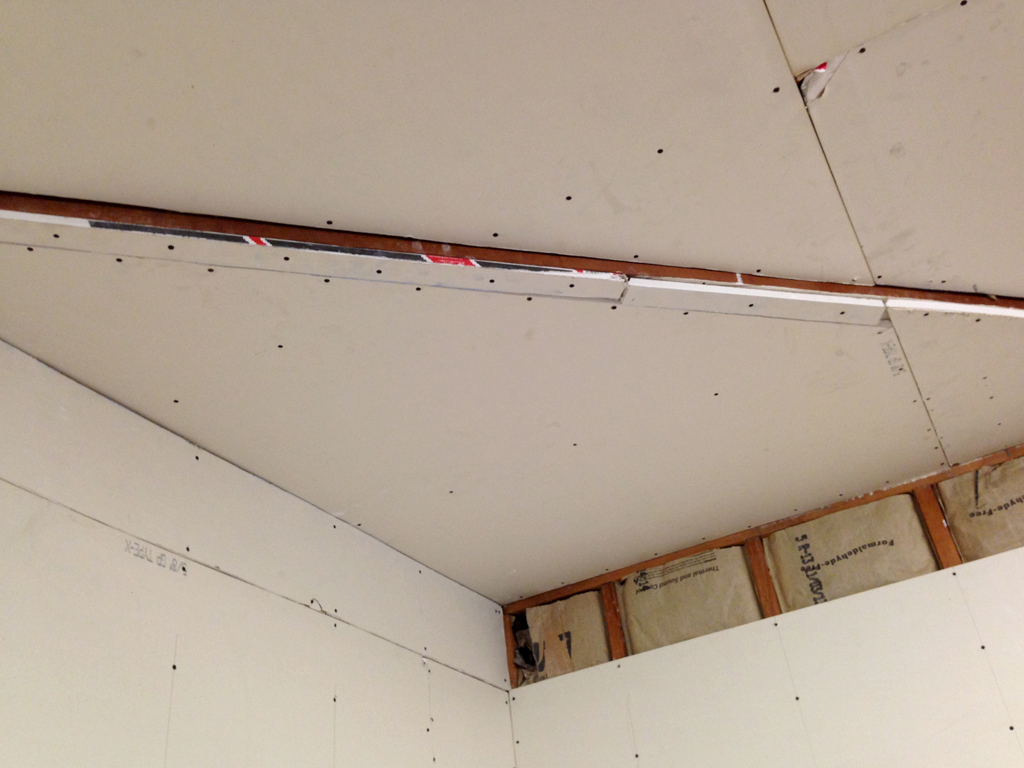
We passed our new wood, electrical and vents inspection but failed our insulation inspection. The inspector wanted us to have the ceiling insulation installed before the drywall. We were planning on just laying insulation down after the ceiling drywall was installed. Technically, we were approved for the wall insulation but had to get the ceiling insulation inspected before we could add drywall to the ceiling.
We had professional drywall installers scheduled to start work the following day. Yikes! Mike had to skip work to help me install all the ceiling insulation within a day. It was a very long day!
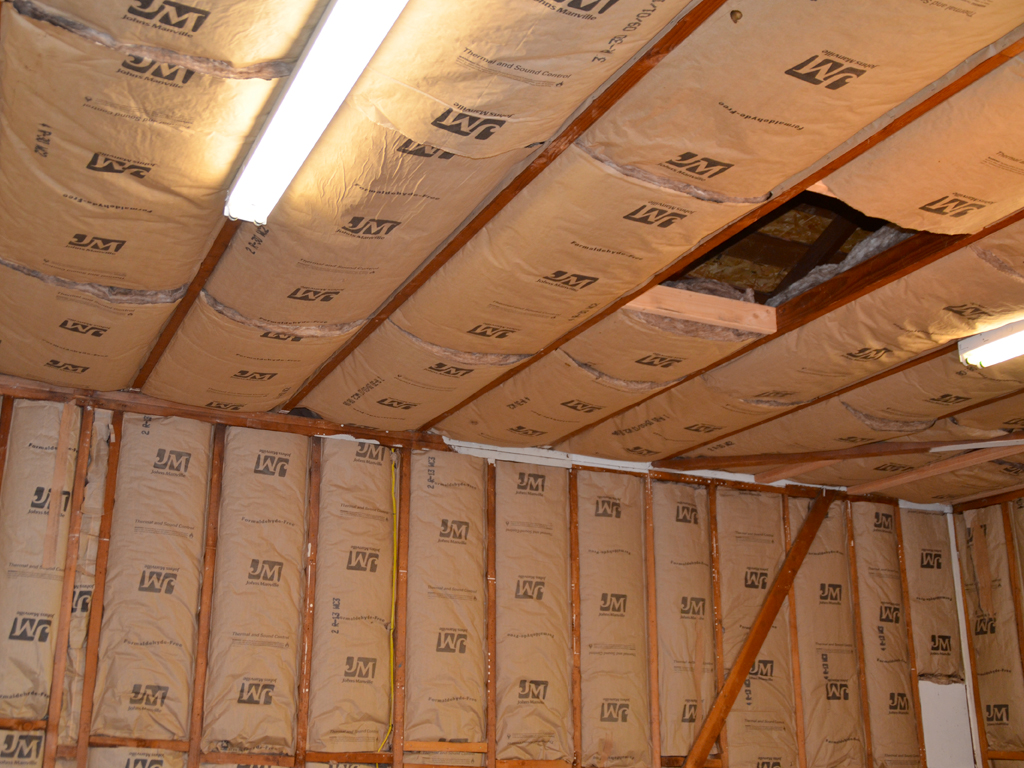
Installing the ceiling insulation was a lot harder. We used R-30 insulation. Mike stood on a ladder getting measurements of the space between the joists. I cut the insulation and handed it to him. I then used a broom to help hold up the insulation piece while Mike stapled it. We also had to create an attic access opening. The insulation up:
Our drywall guys showed up the following morning at the same time as the inspector. Luckily, the inspector approved our ceiling insulation. Phew! Originally, we were thinking of doing the drywall installation ourselves but I’m so thankful we hired professionals to do it.
The drywall installed:
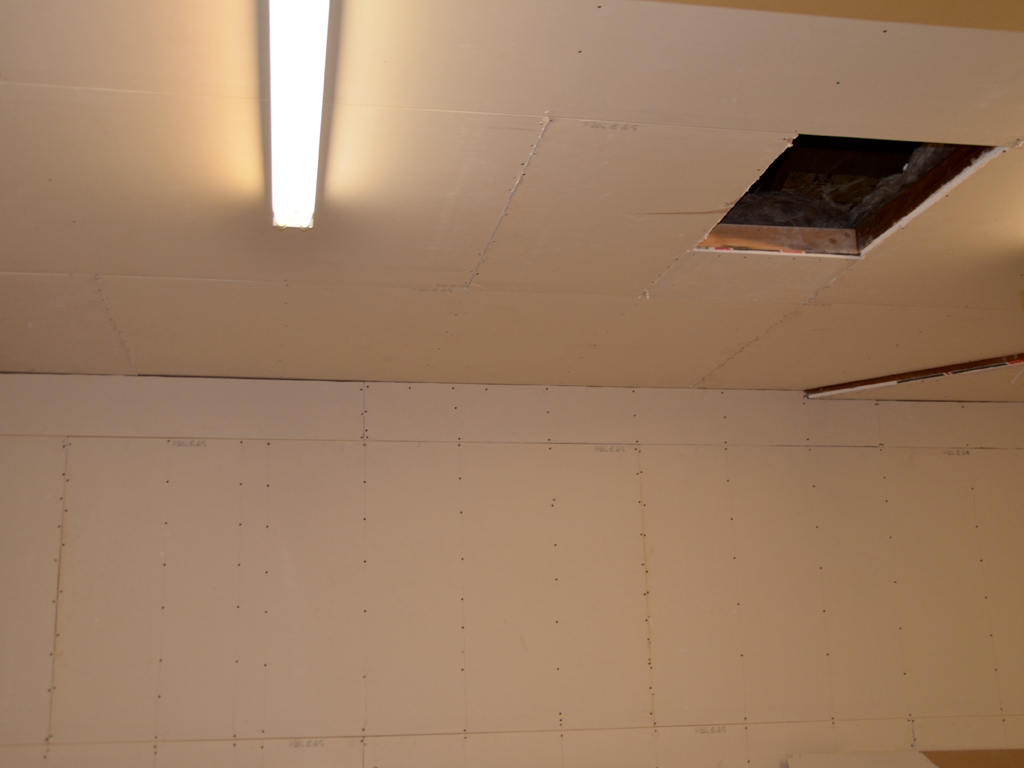
It took two full days for the guys to finish installing the drywall. It was just two guys doing the work. I always put out a cooler full of drinks every morning for them. They seemed to appreciate it.
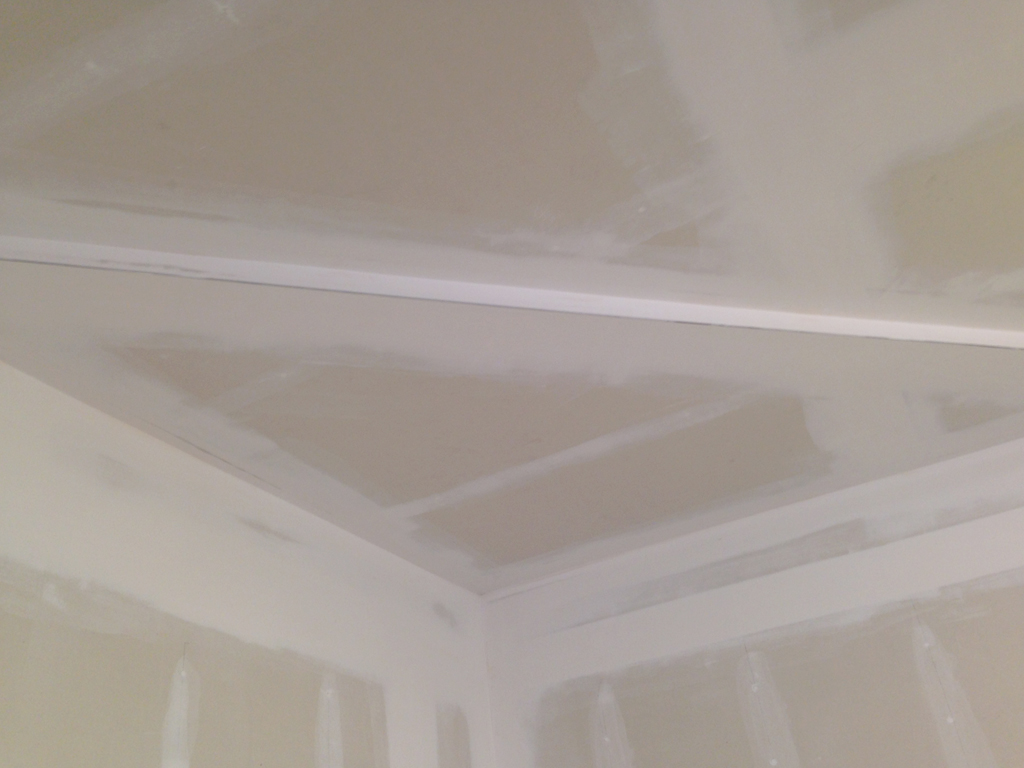
Before they could tape and mud the drywall, we had to get the drywall installation approved. I was the one that always met with the inspector. We got a tough one for this project. He always seemed to give me a hard time and make me think we were going to fail inspection. He gave me so much anxiety! But then again, I wanted to make sure we did everything correctly. The drywall passed! So the following day, the guys returned to finish it:


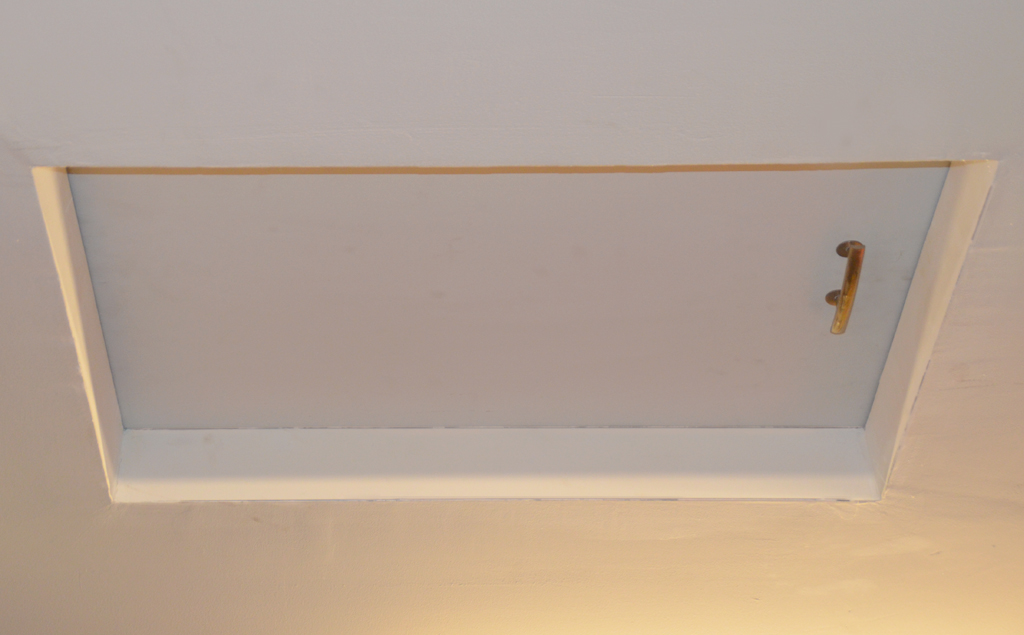
The finished attic access:
To save some money, Mike and I sanded the drywall, primed, and painted the garage ourselves. Doing the ceiling was such a pain – literally our necks were in so much pain afterwards.
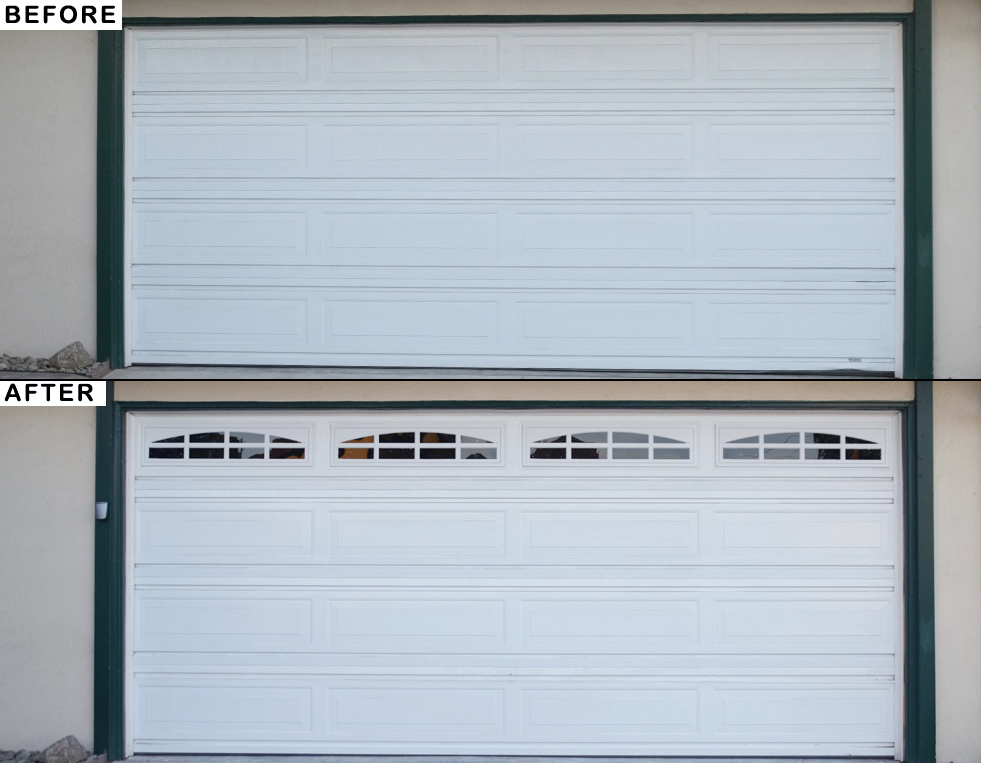
We also updated our garage door panels to include insulation and windows. We hired a professional to do the work. An outdoor wireless keyless entry was installed too (we love it!):
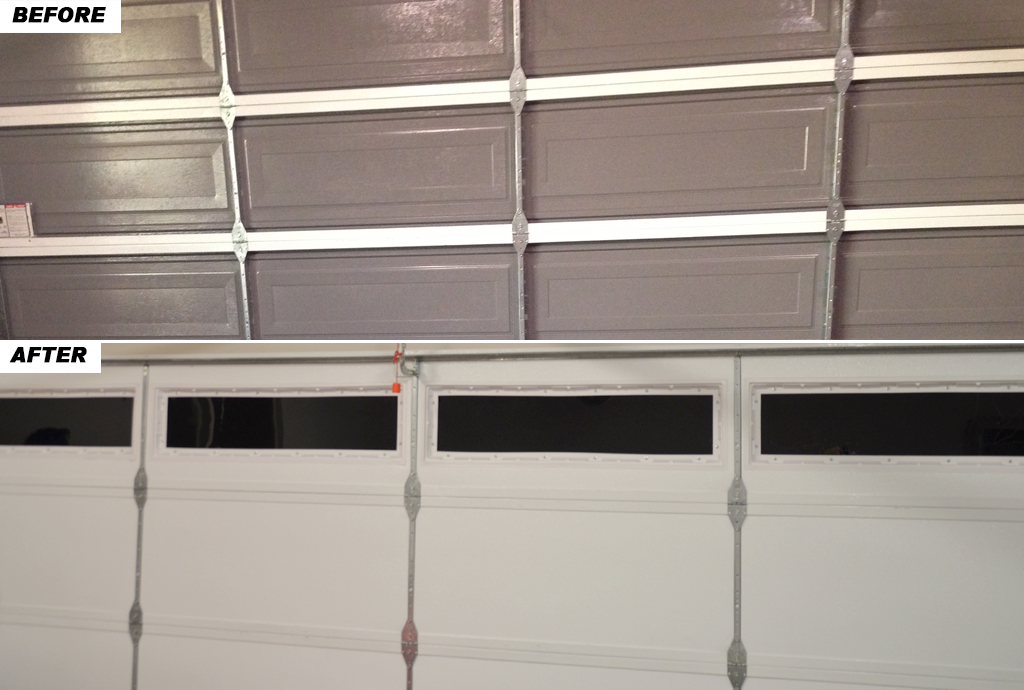
The garage door panels inside:
We passed our last inspection and our permit was closed. YAY! But that wasn’t the end of our work. I wanted to add carpet to make it a more livable space. We found an indoor/outdoor carpet that we liked but no one would install it with a pool table located within the room. So we decided to install it ourselves (why not, right?). We purchased two pieces of 12′ x 23′ Viking stingray carpet.
Mike slightly lifted each end of the pool table while I quickly pulled the carpet underneath: (a pool table can weigh as much as 1,000 lbs!)
Besides dealing with the pool table, installing the carpet wasn’t too hard:
Although, we had to splice two pieces of carpet together using carpet seaming tape:
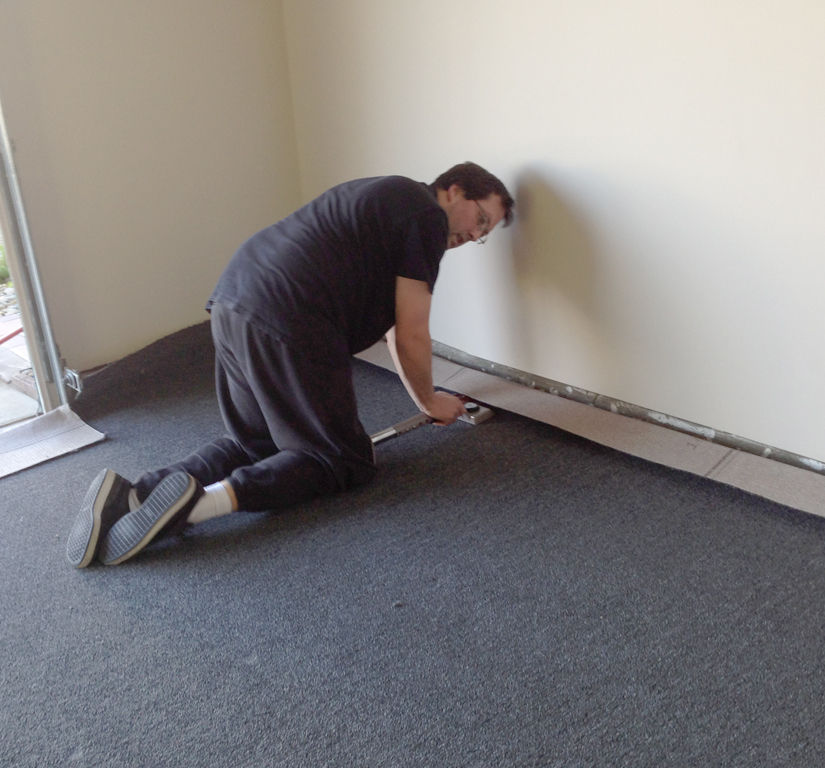
Mike used a knee kicker to stretch the carpet:
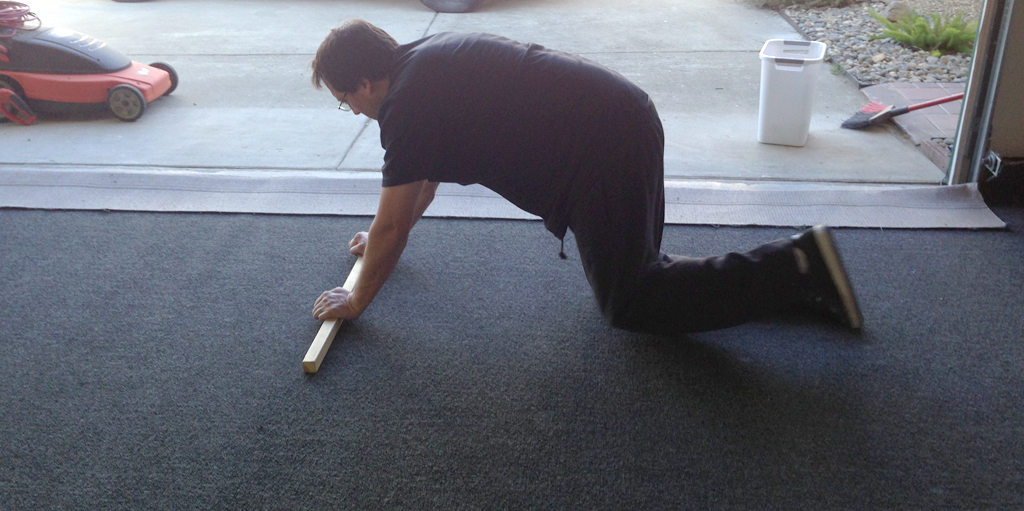
And he used a piece of wood to help smooth out the carpet:
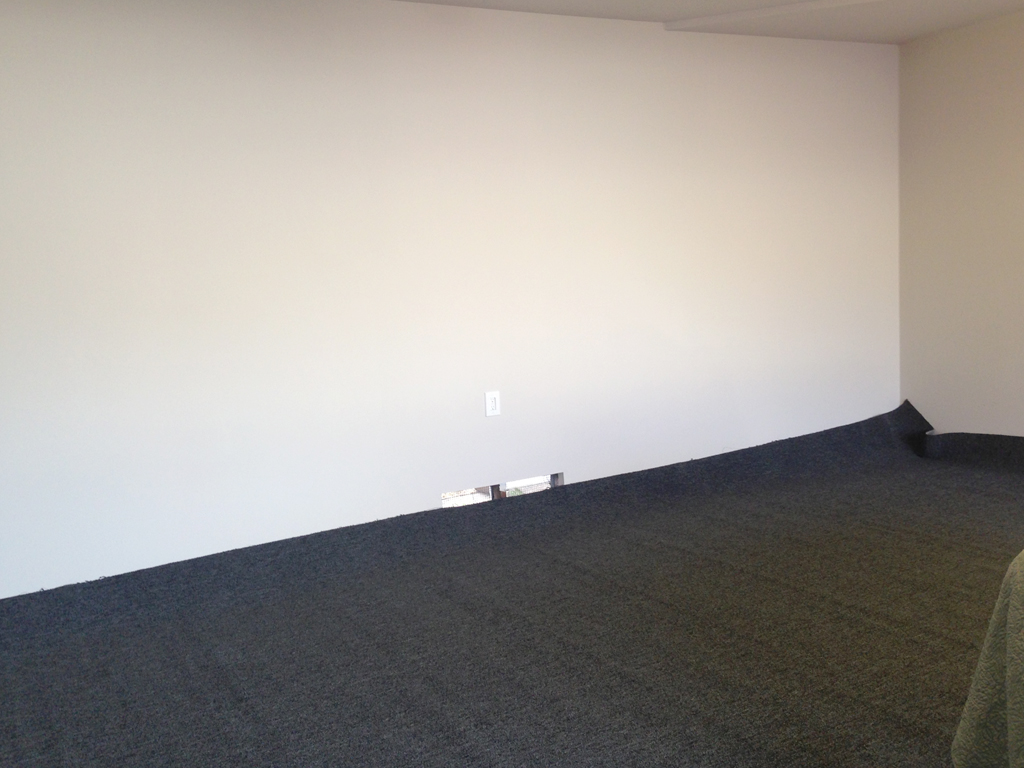
We used double-sided carpet tape to hold down the carpet to the concrete. We also wrapped the carpet around the lip of the floor too. Then, we added basic base moulding throughout. It helped with holding the carpet edges down and it made it look more finished.
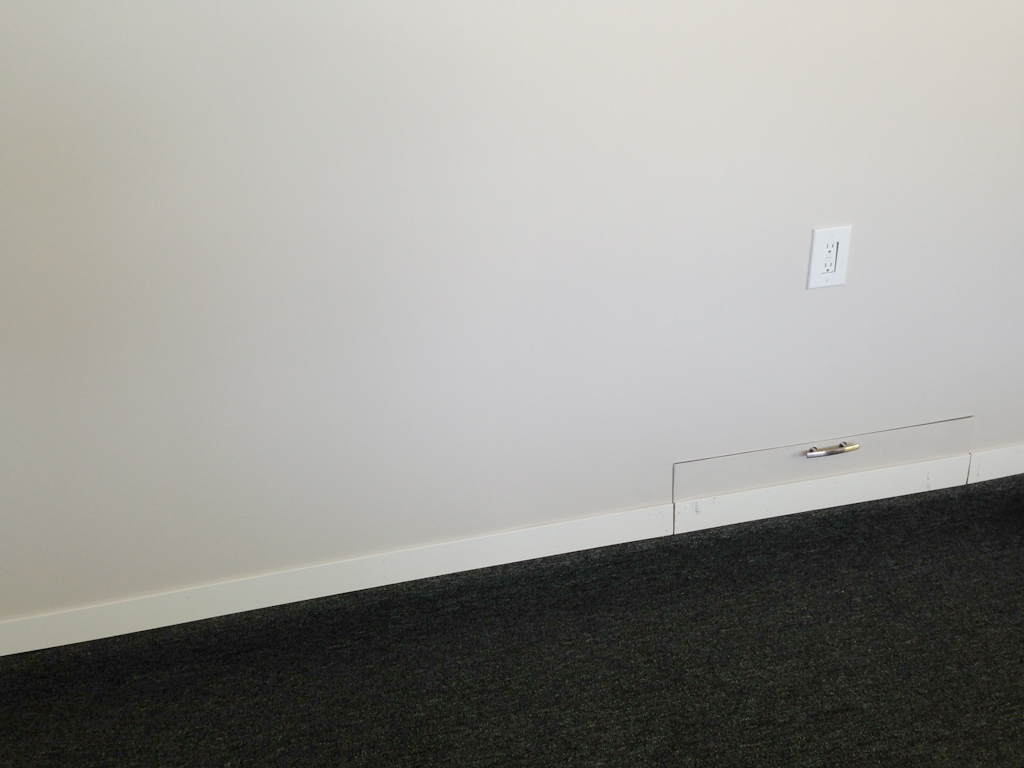
Even though we aren’t planning on parking cars in the garage, we had to leave the large vent due to code. There was no way I was going to leave that open for spiders and bugs to get in:
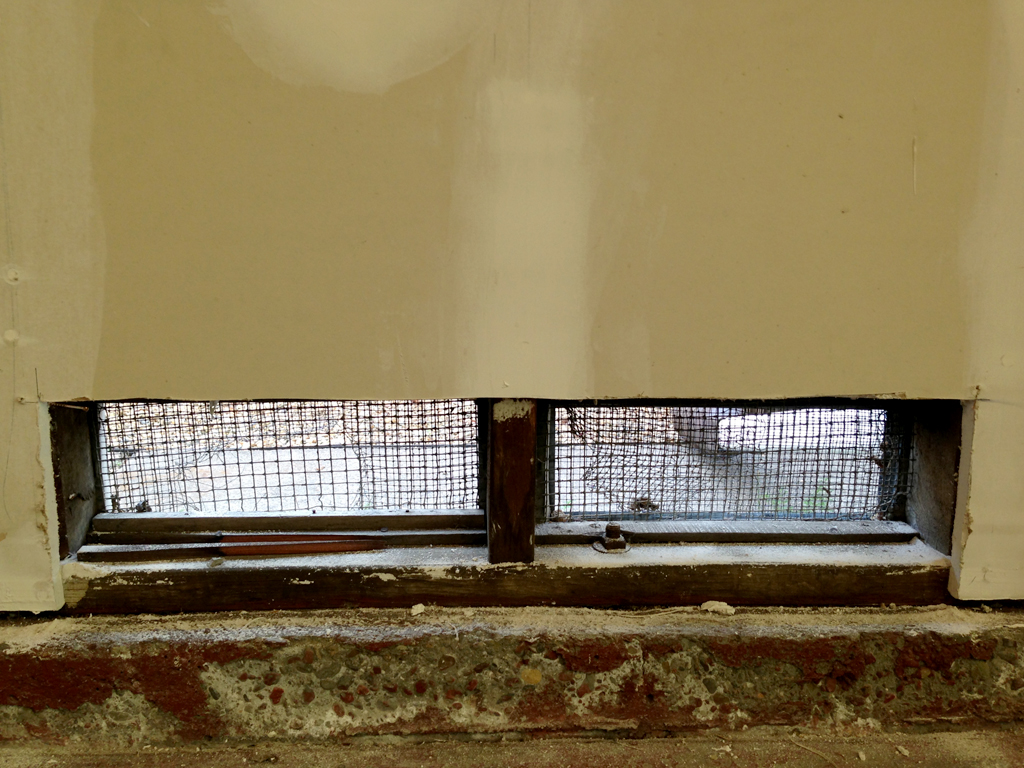
So we created a cover out of drywall and added moulding so it blended with the rest of the wall:
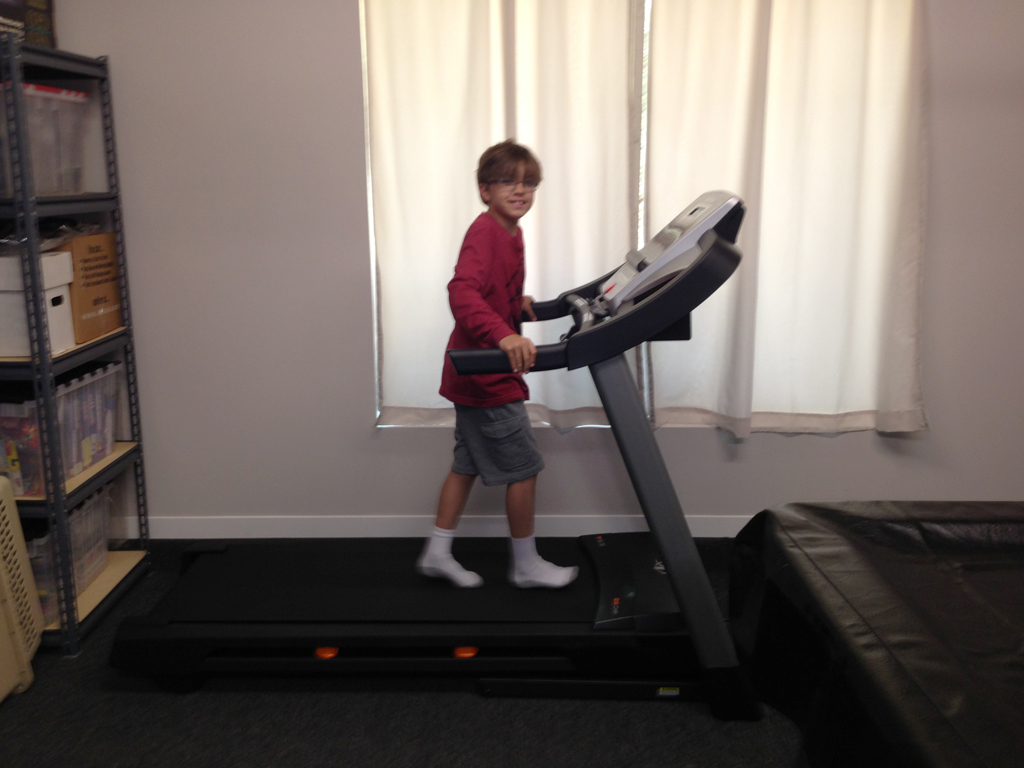
It took us 5 months to totally finish the space. We covered the window with reflective foil insulation to help keep the space warmer/cooler. We bought a treadmill and used it partially as an exercise room:
We also purchased two backyard storage sheds to store our bikes and yard equipment.
Unfortunately, the garage has turned back into mostly a storage space as we inherited more junk from work and relatives. We are slowly organizing and de-cluttering. I’ll put up some finished pictures once we are done.
************************************
RECEIPT
************************************
GARAGE REMODEL PROJECT
COMPLETED
MARCH 2014
TIME FRAME
5 MONTHS
DESCRIPTION
AMOUNT
Drywall and roof vents installed
$3,200
Garage door modified
$1,562
Electrician
$1,283
Storage sheds and shelving x 2
$1,176
Storage pod rental
$694
Junk removal
$535
Pool table move/install
$495
Insulation R30 for attic
$362
Carpet
$347
Base moulding 3 1/4″ (includes delivery)
$164
Paint (primer and color) x 7 gallons
$152
Permit
$130
Insulation R13 for walls
$112
Impact driver
$103
Carpet knee kicker
$85
Misc (screws, bolts, staples, washers, stud guards)
$81
Misc drywall (sanding, caulk, putty knifes, joint compound, joint tape, drywall corners)
$70
Misc paint (rollers, brushes, trays, drop cloths)
$69
Misc carpet (tape, transitions)
$63
Sawhorses x 2
$62
Misc (wallplates, respirator masks, gloves, handles)
$57
Soffit vents 22″ x 3″ x 10
$40
Misc tools (straight snips, drywall jab saw, circular saw blade, drill bits)
$40
Louver roof vent 19″ x 3″
$32
Reflective foil insulation (for window)
$23
Rafter vents 22″ x 48″ x 10
$20
Wood 2″ x 4″ x 10′ x 5
$20
TOTAL (9% SALES TAX INCLUDED)
$10,977